The Setup Wizard helps configure your Klaviyo account quickly. All progress is saved if you can’t finish in one session. You must complete each step before sending campaigns or flows.
Shopify
If detected: enter store URL and continue.
If redirected with errors: ensure your store is live.
Direct Sign-up
Enter store URL manually.
Use Not Using…? to switch platforms or I’ll do this later to skip.
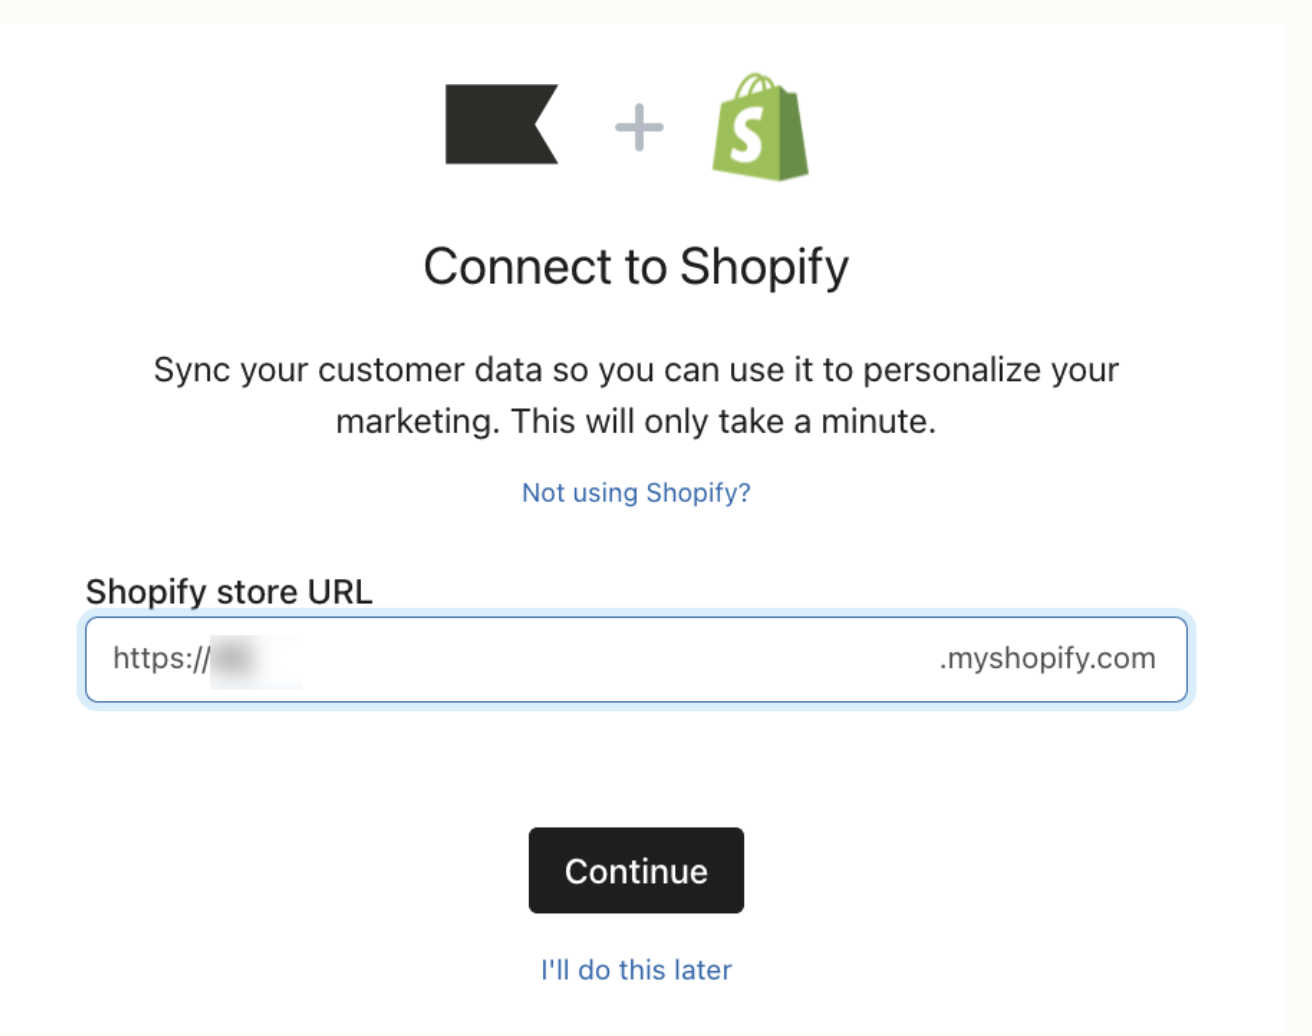
Once connected, Klaviyo auto-imports branding (logos, fonts, colors, social links). You can edit these later in your Brand Library.
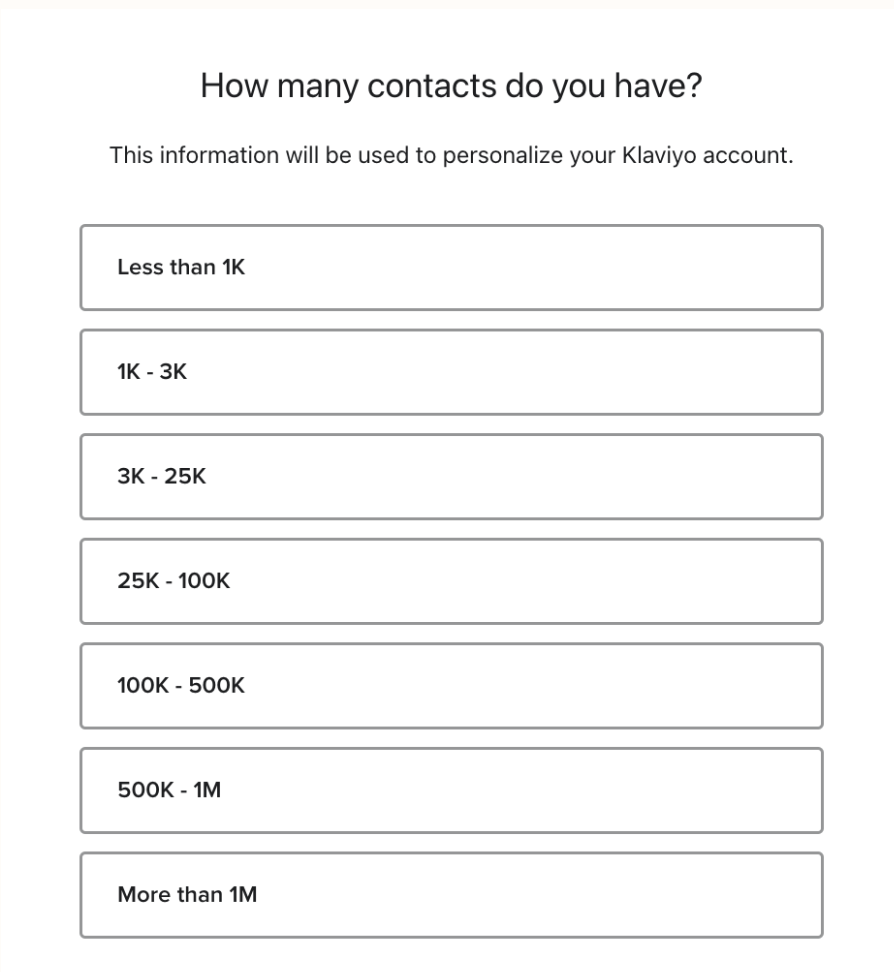
Select an option on How many contacts do you have?
If unsure, check your ecommerce platform or previous ESP.
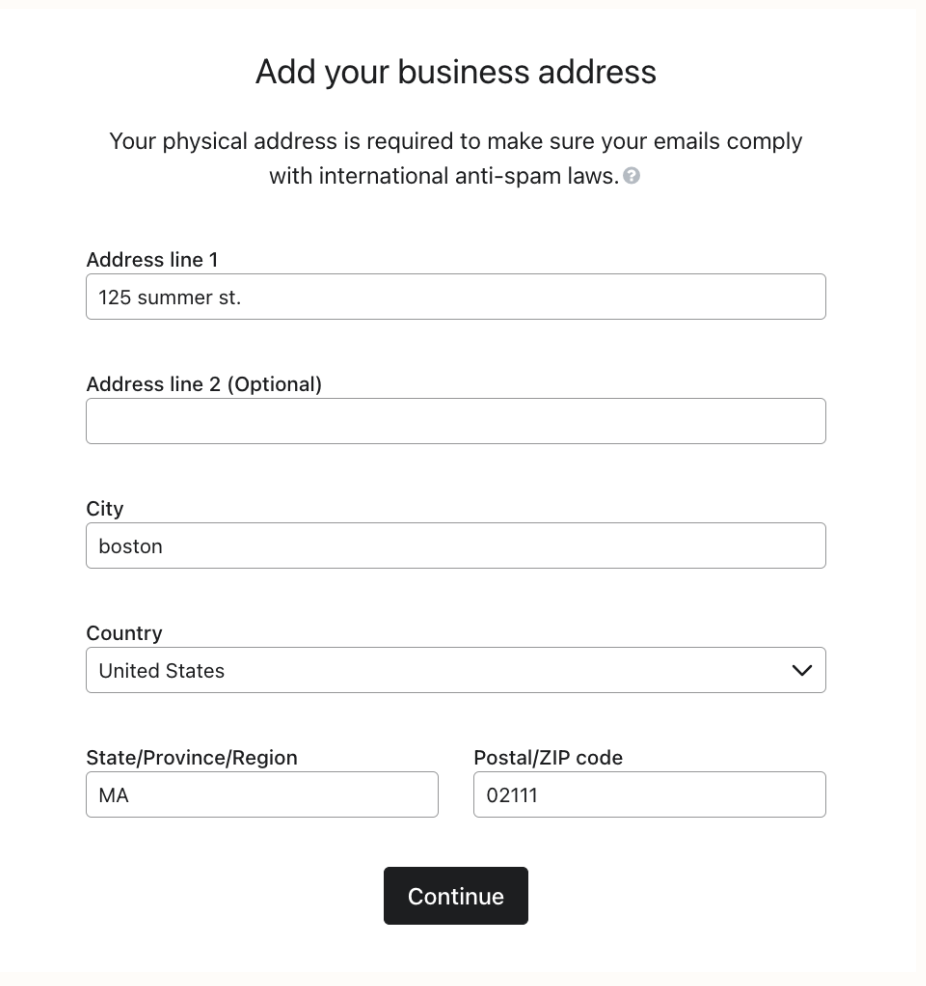
Fill in street, city, country, postal code.
All fields are required (errors mean you missed a field).
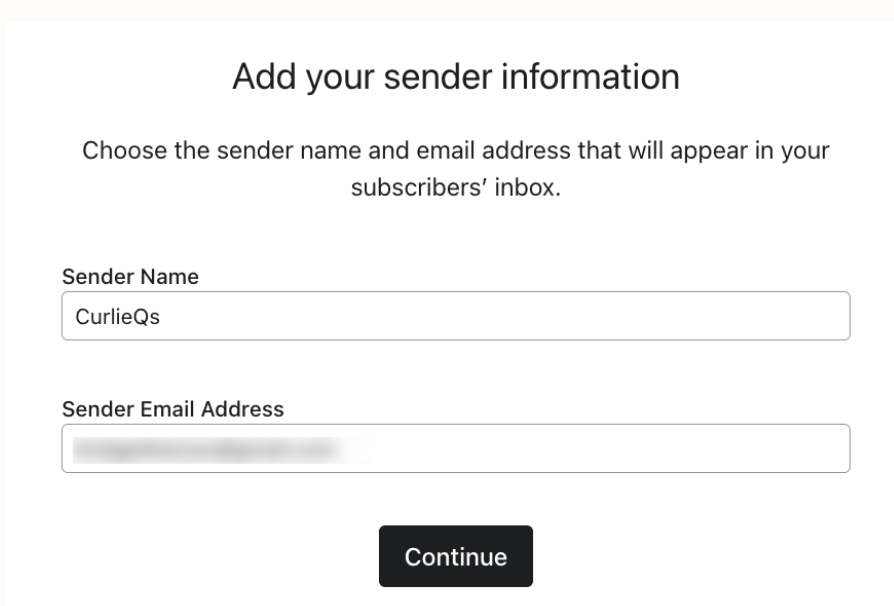
Enter From Name (brand name) + From Email Address.
This will show in your subscribers’ inboxes and helps inbox providers (e.g., Gmail, Yahoo) identify you.
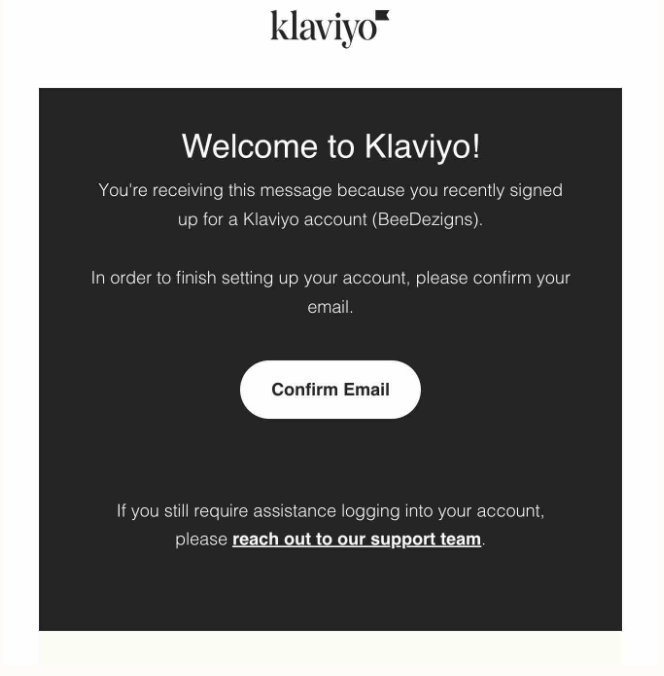
Check your inbox for a Klaviyo confirmation email.
Click Confirm Email (valid for 72 hours).
Didn’t receive it?
Check spam/promotions folder.
Use Didn’t receive an email? → Update Email or Resend Confirmation Email.
You must confirm before sending campaigns.
Onsite Tracking → Adds Active on Site metric + enables signup forms.
Auto for Shopify, BigCommerce, WooCommerce, Magento.
Manual setup required for others.
Viewed Product Tracking → Adds Viewed Product metric to track items browsed.
Auto for Magento & WooCommerce.
Manual setup required for others.
Both require snippets containing your Klaviyo account ID.
Once complete, your Klaviyo account is:
Connected to your ecommerce store (if applicable).
Configured with branding, business info, and sending email.
Verified and ready to send campaigns/flows.
Tracking site activity and viewed products (if enabled).