Journey-based campaigns in WebEngage allow you to automate multi-step user engagement flows triggered by specific events, such as user_login. Unlike simple triggered campaigns, Journeys let you add delays, conditions, branch logic, and multi-channel messaging, making it possible to send personalized push notifications, emails, SMS, or in-app messages based on user behavior.
Before creating a Journey-based push campaign, ensure the following:
SDK Integration - Your mobile app is integrated with WebEngage SDK and tracks the event (e.g., user_login).
Push Configuration - FCM is configured for Android and APNS for iOS.
Personalization Tokens - Any user attributes or event properties to be used in the message are mapped.
Go to Journeys → + (Create new Journey) in your dashboard.
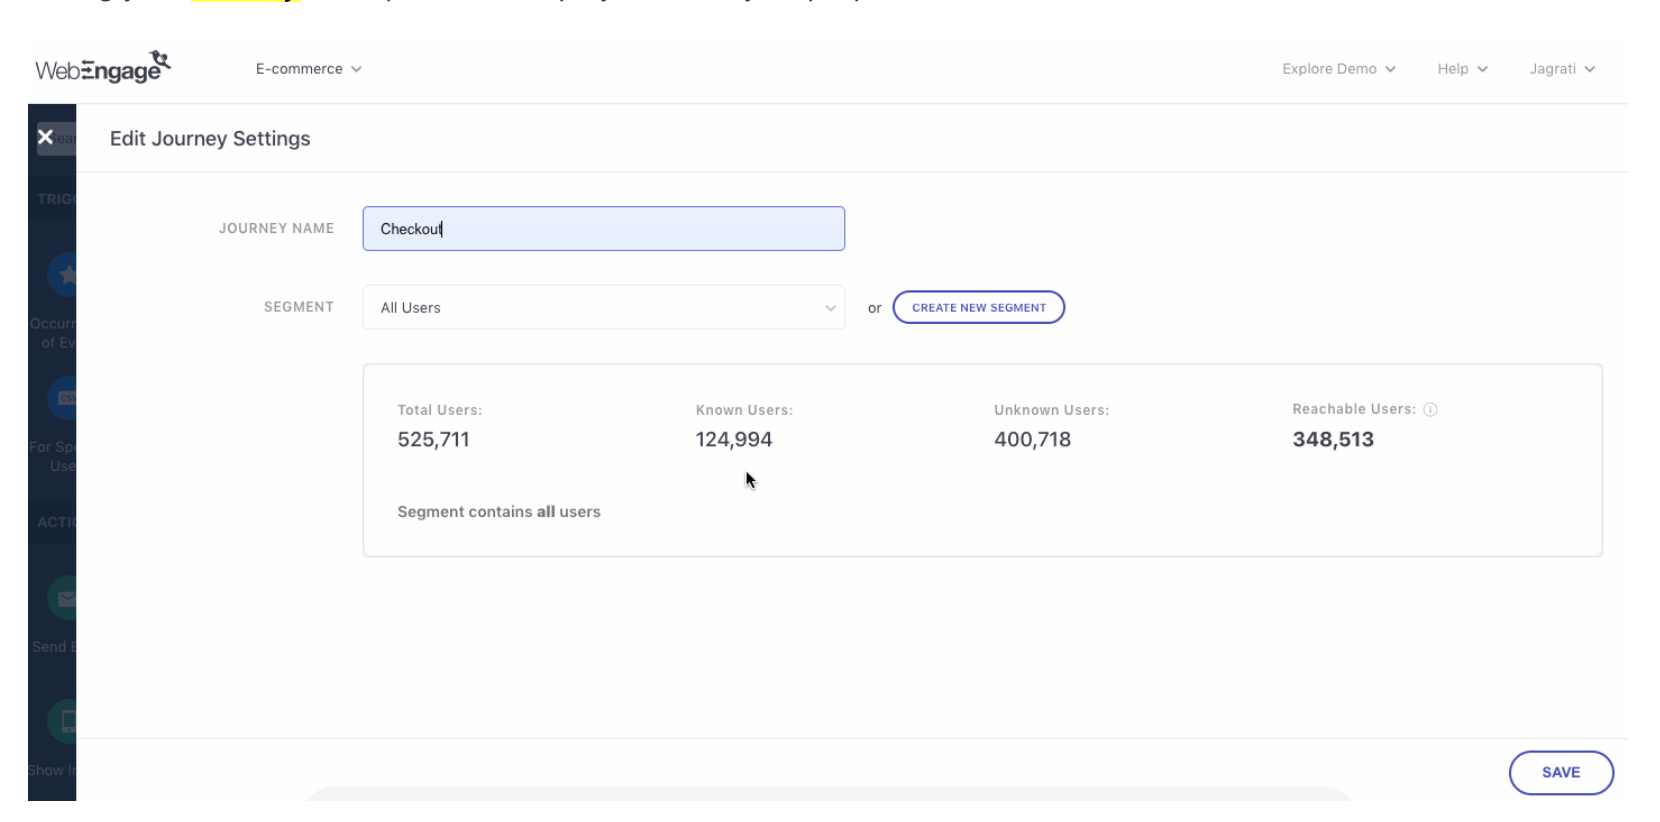
Click the Gear icon to configure Journey settings, including Journey Name and Target Segment.
Choose an existing segment or create a new segment.
Segment users by User Attributes, Behavior (events), or Technology.
Optionally, create a single-use ad hoc segment for disposable campaigns.
Pro Tip: Use the Universal Control Group option if available to exclude users from campaigns for testing purposes.
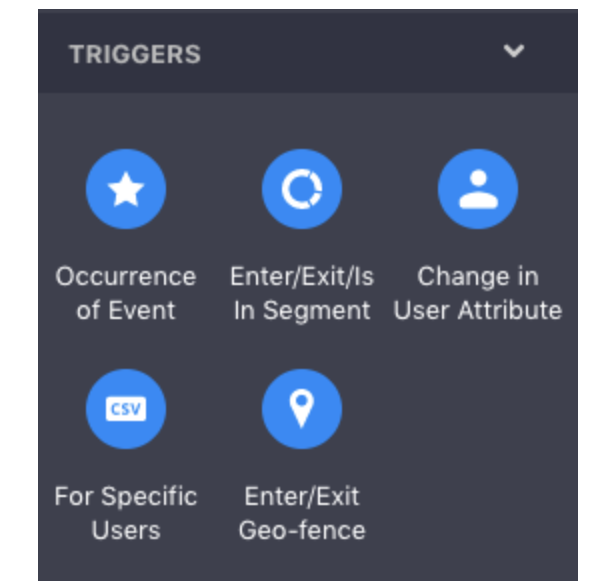
Drag and drop a Trigger block onto the canvas.
Entry Triggers determine how users qualify for the Journey:
Occurrence of Event (e.g., user_login)
Enter/Exit/Is in Segment
Change in User Attribute
Specific users (uploaded list)
Enter/Exit Geo-fence
Pro Tip: Understand how each trigger works to ensure users enter the Journey correctly. Apply Filters - Optionally, apply filters based on event attributes (e.g., platform = Android).
Conditions: Personalize the Journey using Yes/No logic based on user behavior and attributes.
Flow Controls: Add wait times or control the duration of each stage to prevent message overload.
Examples: Wait for Some Time, Wait for Event, Wait for Specific Date, Split users into branches
Best Practices:
Space consecutive messages to prevent redundant communication.
Check Is User Reachable to engage users via alternate channels if needed.
Action blocks deliver engagement messages through preferred channels:
Push, In-app, SMS, Email, WhatsApp, Web Push, On-site notifications
Configure actions:
Choose message layout (Text, Image, Carousel)
Compose title/body
Insert personalization tokens or event attributes (e.g., {{first_name}})
Add deep links for app navigation
Pro Tip: Focus on the right tone, timing, and contextual personalization to make messages engaging.
Exit triggers end a user’s Journey when they achieve the desired action:
Event occurrence
Enter/Exit Segment
Change in user profile attributes
Pro Tip: Use exit triggers to avoid sending redundant messages to users who already completed the Journey goal.
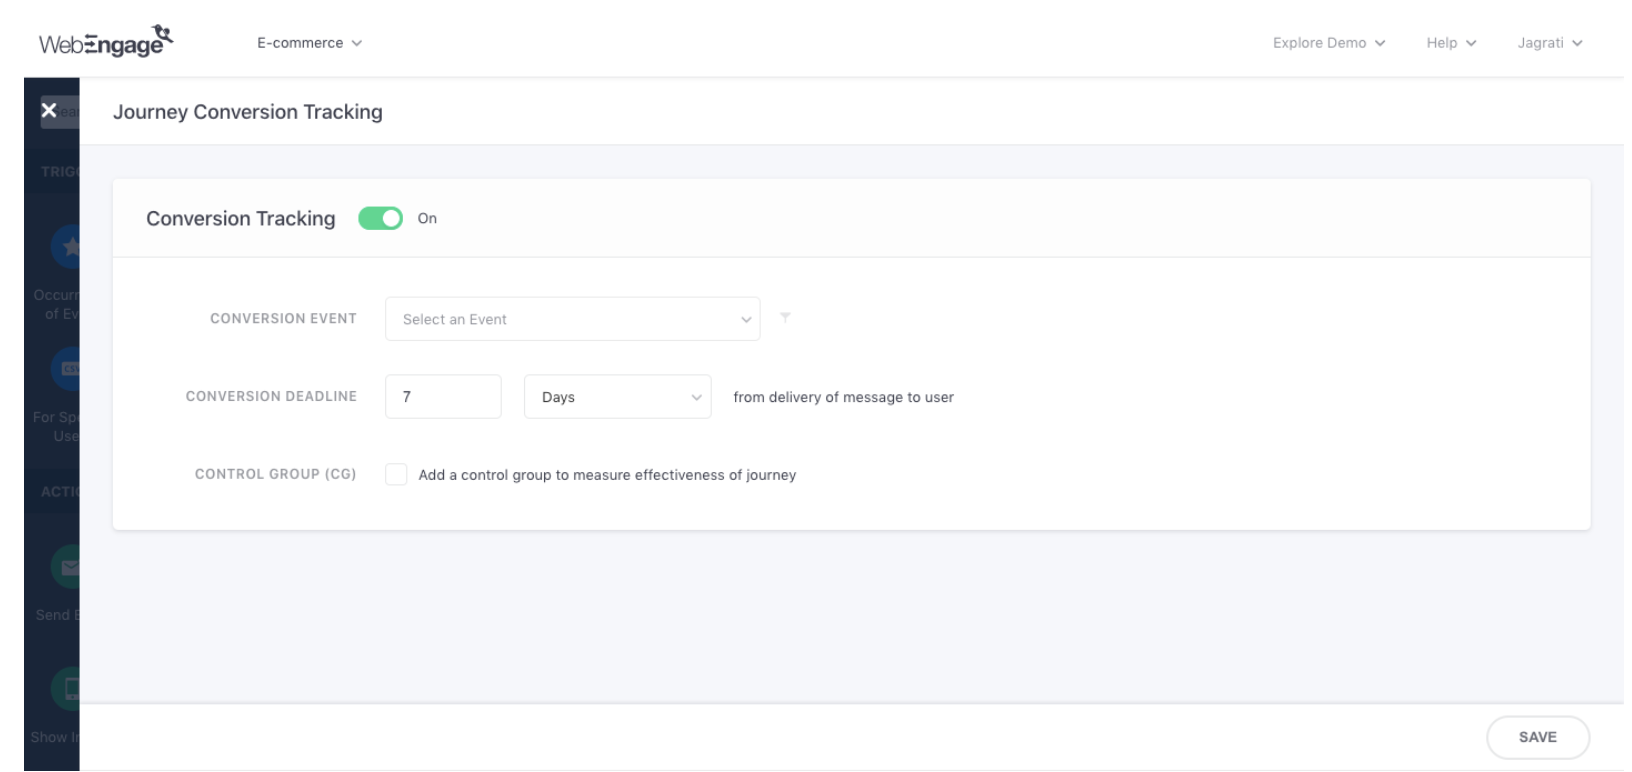
Conversion Tracking: Select an event as the conversion goal (custom or system event like User Login).
Event Attributes: Optionally, filter conversion tracking by event attributes.
Conversion Deadline: Define a duration to track conversions after Journey campaign delivery.
Control Group: Randomly select a portion of users to compare organic behavior versus Journey-driven behavior.
Frequency Capping: Limit number of campaigns per user per day, week, or month.
Do Not Disturb (DND): Prevent notifications during specific hours in users’ time zones.
Queueing: Delay delivery if Frequency Capping or DND prevents immediate sending.
Use Send Test and Personalized Preview to validate the Journey and token-based personalization.
Publish Now: Activate immediately.
Publish Later: Schedule start and end times for the Journey.
Save Draft: Store your work for editing later.
Pro Tip: Use the Auto-Align and Save Canvas Image features to organize and document your Journey visually.
Journey Overview - Track delivery rates, opens, and conversions.
User Profiles - Monitor individual user interactions with the Journey.
Live View - Real-time progression of users through the Journey.