The Launch screen of the app is the very first screen which appears when you open the app
The launch screen isn’t just decoration—it’s part of your branding, user trust, and loading experience.
The design of the launch screen is important because the “First Impression” matters the most and also that it helps reinforce your logo, colors, and style.
This document walks you through the steps involved in designing the launch screen of your app.
Step 1 : Navigate to the “Launch Screen” section of the dashboard by clicking on Setting → App Distribution. (The Launch Screen is the very first menu of the App Distribution).
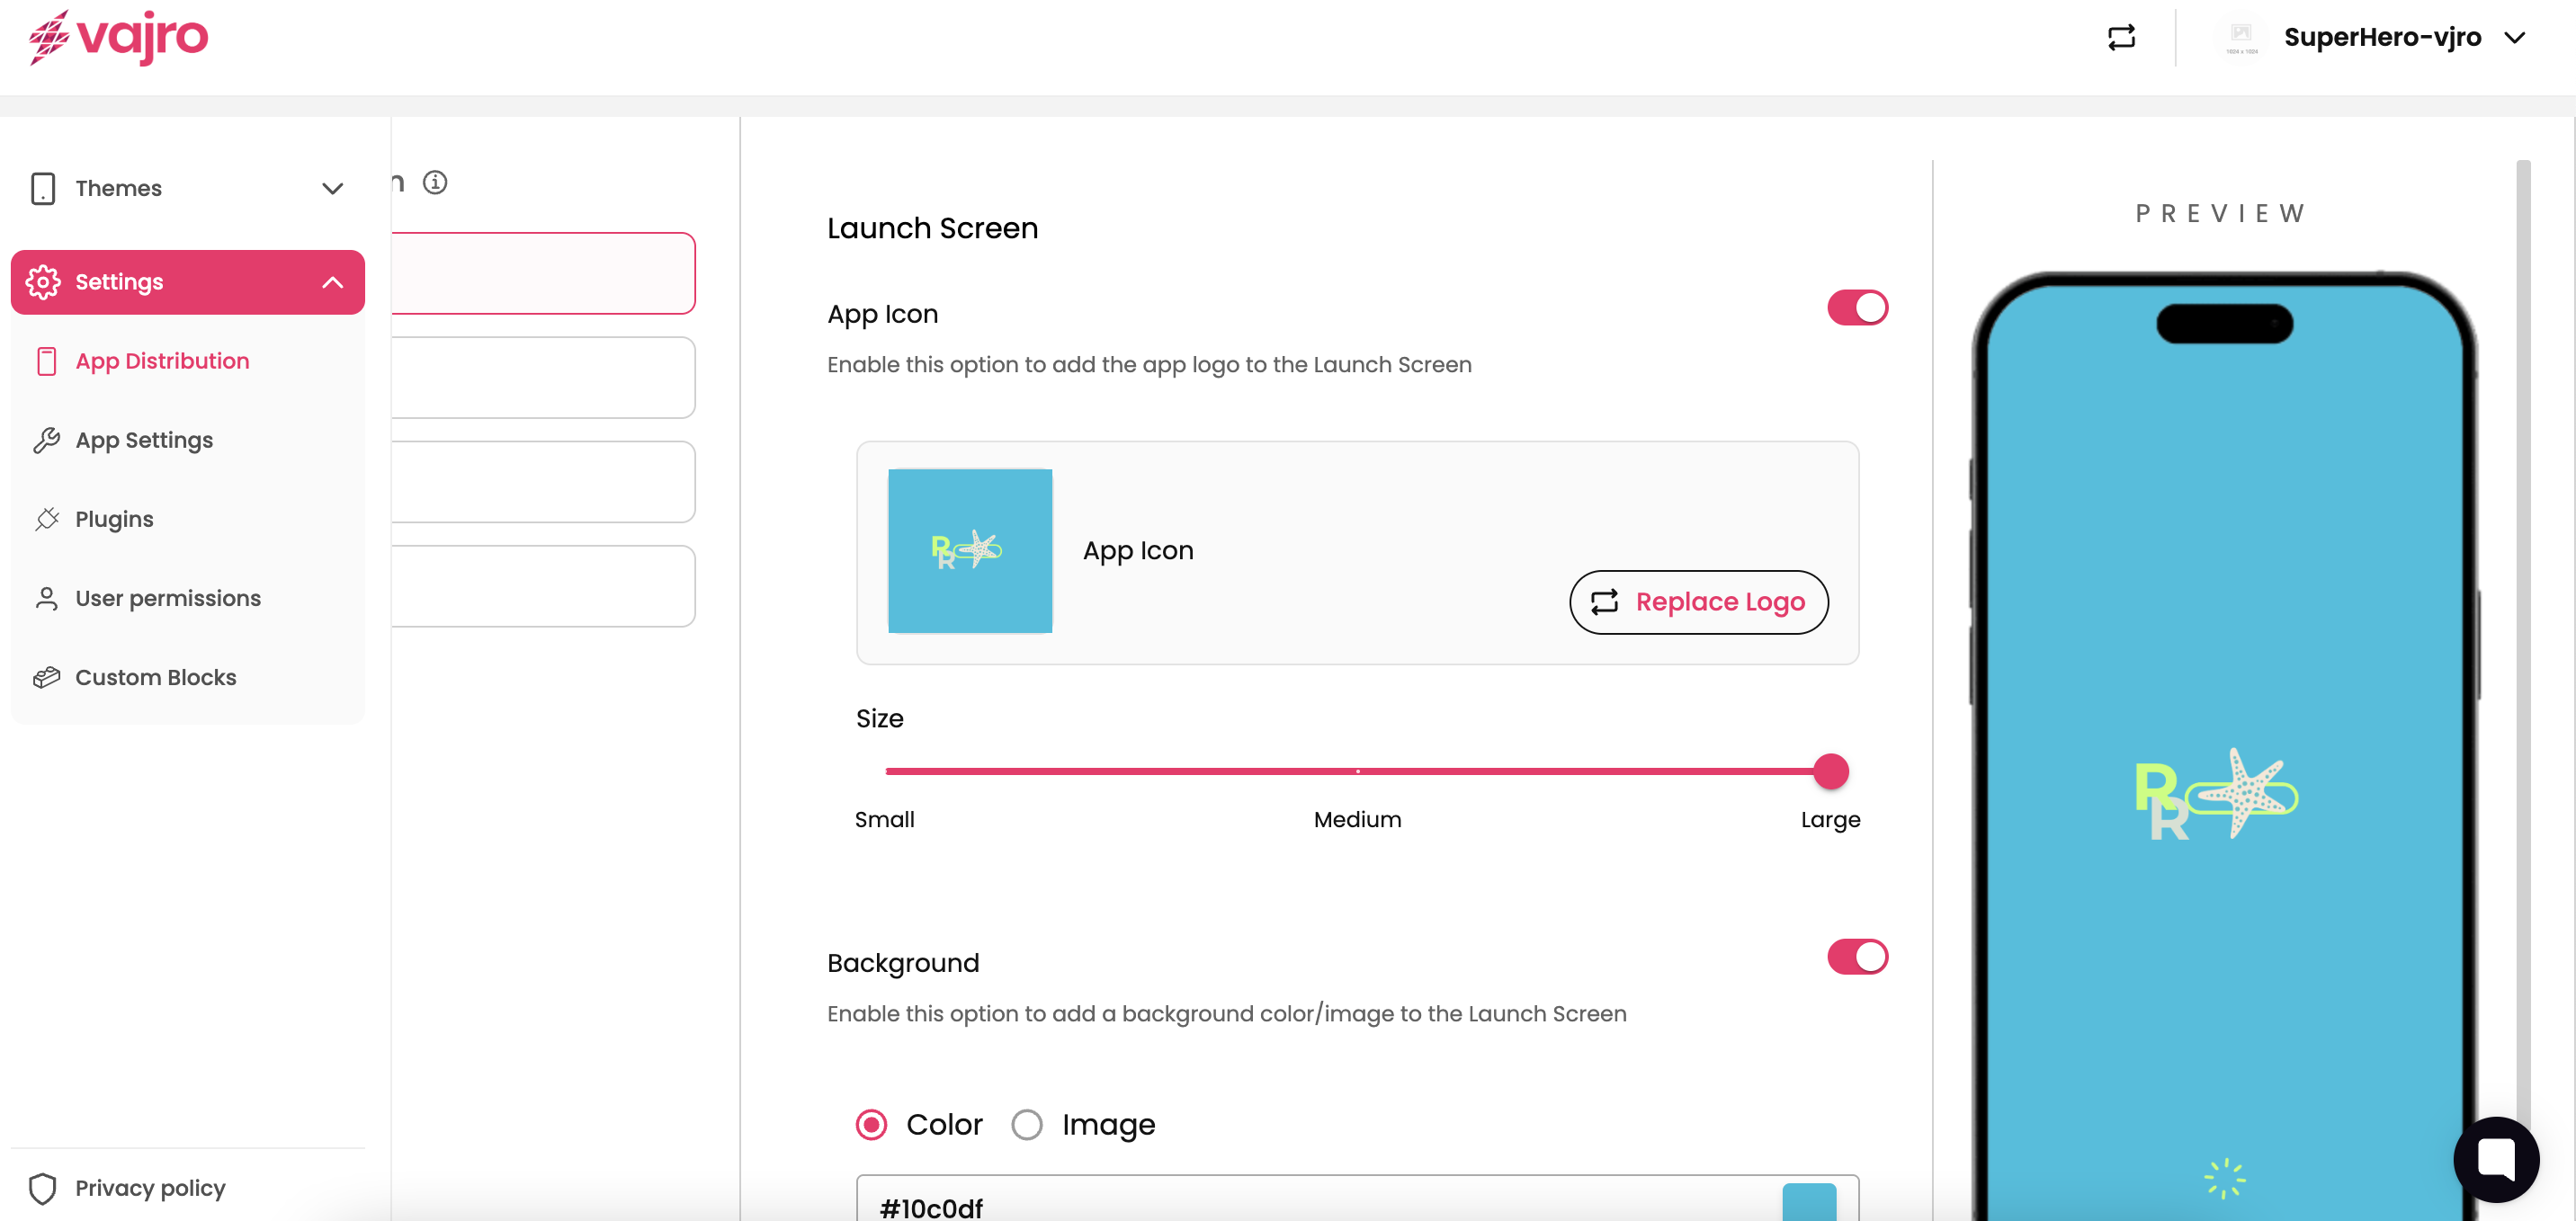
Step 2 : Customise the Launch screen with your logo, colors, and loader animation.
Enable the App Icon
Toggle the App Icon switch ON.
Upload the image of your app’s logo (The size should not exceed 500 px * 500 px)
Adjust the Size using the slider
Small → Minimal logo presence.
Medium → Balanced appearance.
Large → Logo takes center stage.
Note: This is optional. If you don’t want to have app icon, disable by turning off the toggle.
Set the Background
Toggle the Background switch ON.
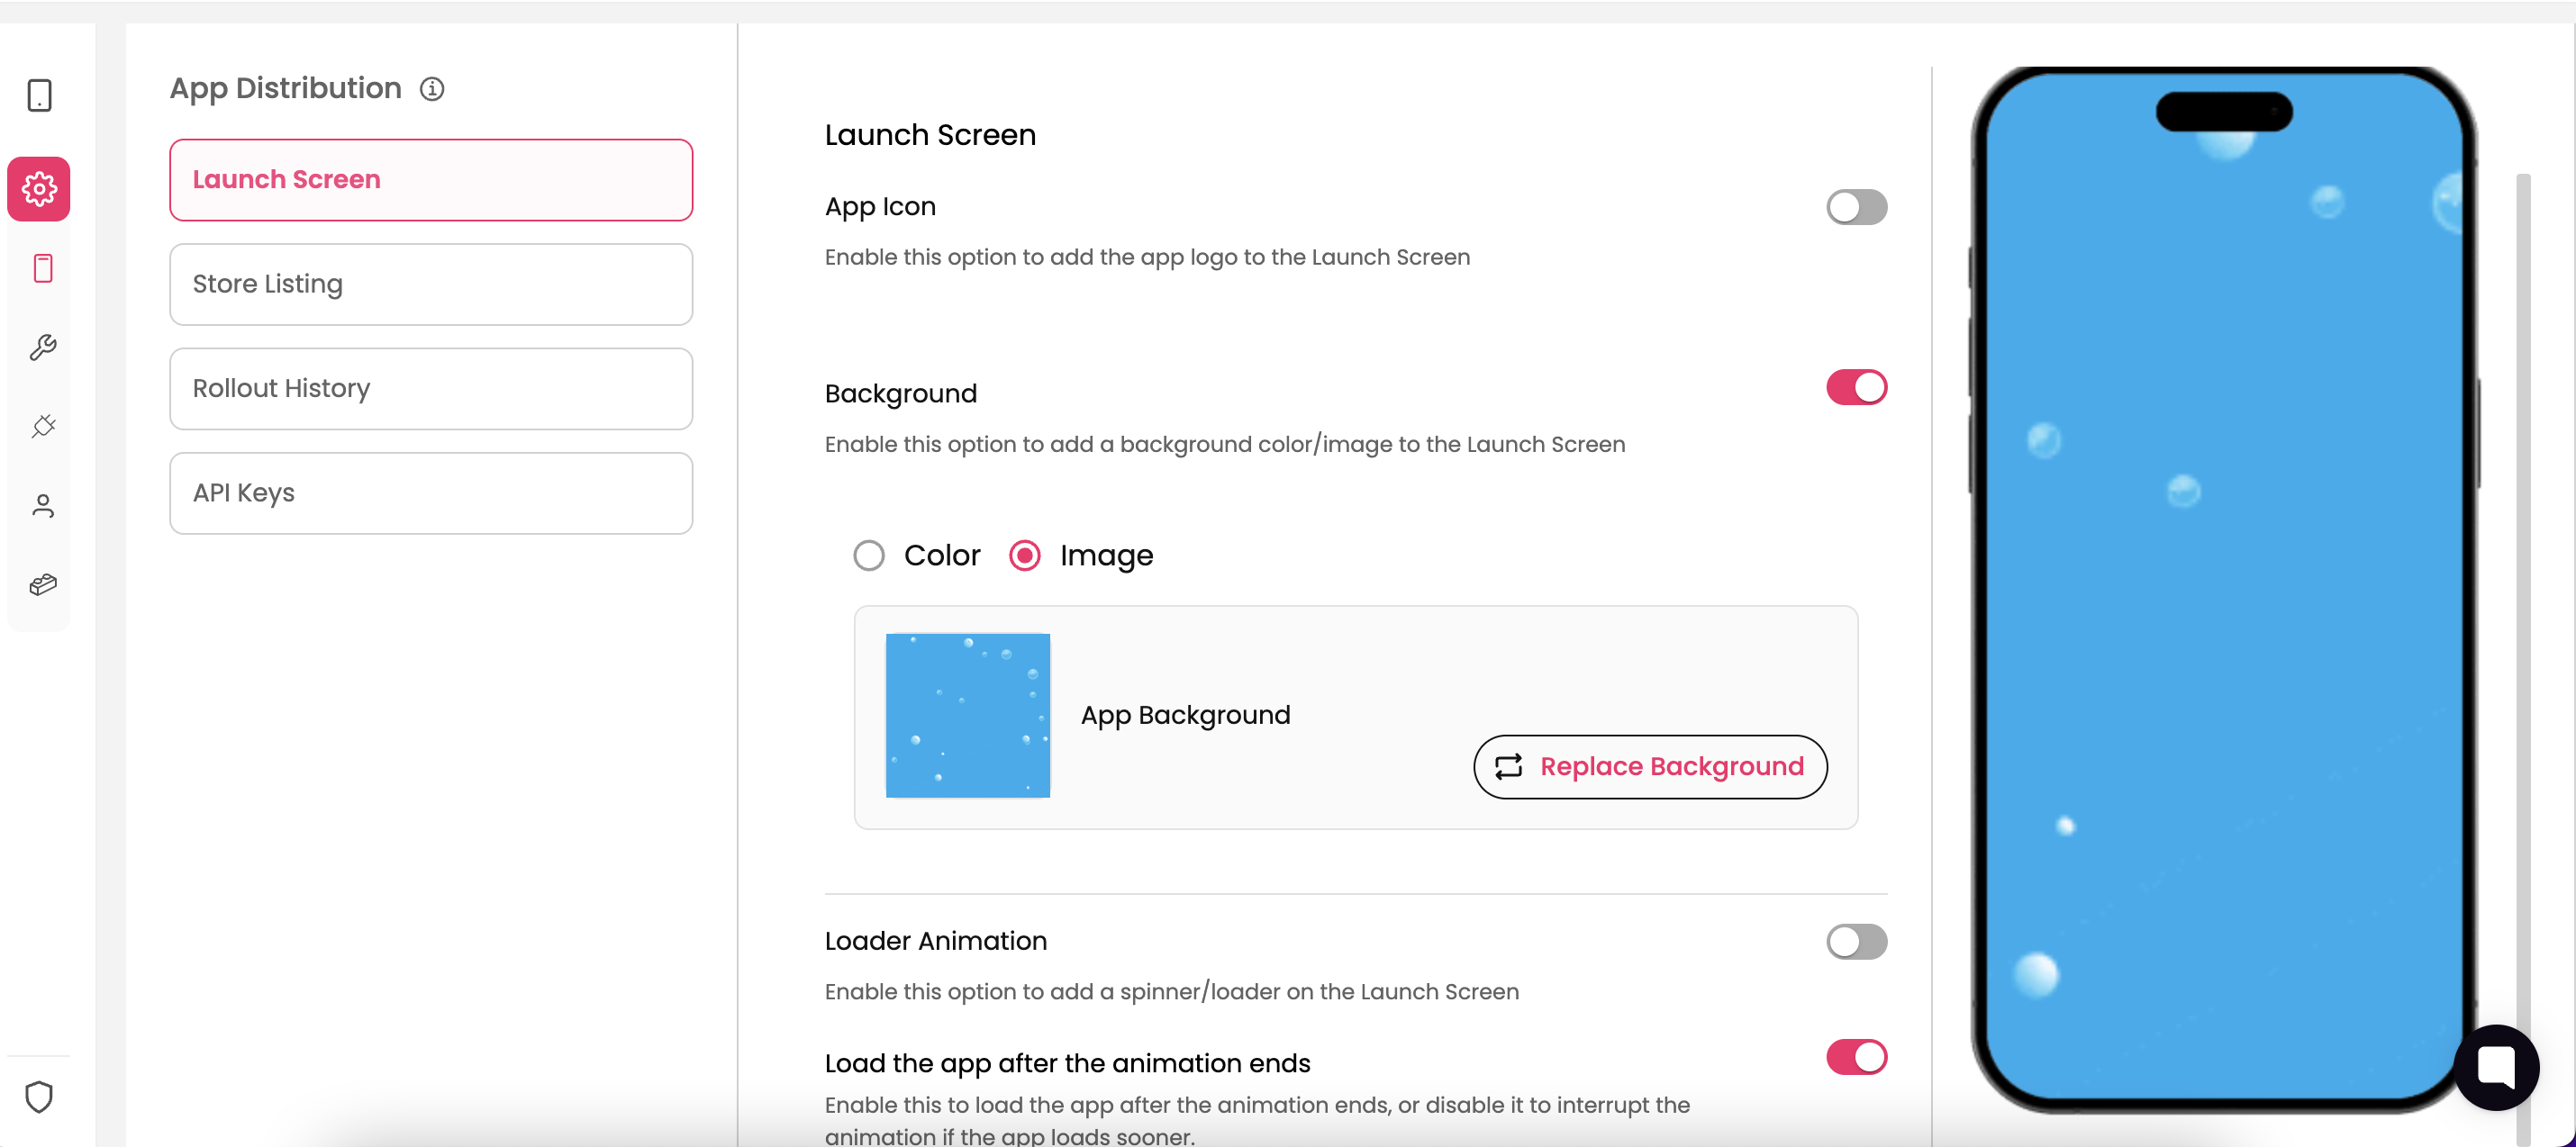
Choose between:
Color → Pick a solid color using the color picker or enter a HEX code.
Image → Upload a branded background image or you can upload a gif of your choice.
Pro Tip:
Stick to brand colors or clean gradients for a professional look.
Use a gif as launch screen of the app. (This will eliminate the need of app icon or color or loader animation)
Add a Loader Animation (Optional)
Toggle the Loader Animation switch ON.
A spinner/loader will appear at the bottom of the launch screen while your app loads.
Customize the loader color using the HEX code input.
Step 3 : Enable / Disable the setting “Load the app after the animation ends” based on your preference.
Note : If you have created a gif to show your brand details for more than 5 seconds, you can enable this setting so that everyone can view the entire gif and then go to the home page of the app.
Step 4: Preview Your Launch Screen
On the right-hand side, you’ll see a live preview of how the launch screen looks on a mobile device. Adjust the logo size, background, and loader until you’re satisfied.
Keep it simple & branded: Use your primary brand logo and colors so customers instantly recognize your store.
Optimize logo size: Avoid making it too large or too small. Ensure it looks balanced in the preview.
Follow size guidelines: Make sure your logo image is less than 500px × 500px for best performance.
Pick high-quality assets: Use crisp PNGs or SVGs to avoid pixelation.
Consistent background: Use brand-aligned solid colors or subtle images that don’t overpower the logo.
Add a loader animation: Improves perceived app speed and sets user expectations.
Always preview: Check the live preview across devices before saving.
1. Do I need to update my app if I change the logo?
Yes. Any logo changes require submitting an app update to reflect in the live version.
2. Can I change the background without updating the app?
Yes. Background colors and images can be updated instantly without needing an app update.
3. What file formats and sizes are supported?
The logo must be in PNG, JPEG, SVG, or WebP format to ensure clarity . The image size should be under 500px × 500px.
4. How do I pick the right logo size on screen?
Start with Medium in the slider and adjust while checking the live preview.
5. Is the loader animation mandatory?
No, but enabling it enhances the user experience by showing that the app is actively loading.