The Visibility & Customization feature lets you control who sees specific content blocks and when they appear in your app. By applying these rules, you can personalize the Home Page, Product Listing Page (PLP), Product Detail Page (PDP), and Cart Page so that customers always see the most relevant content.
Every widget or content block in your app has two basic visibility states:
Visible: This is the default setting. The block will be displayed to all users who view that page.
Hidden: The block will not be visible to any user. This is useful for temporarily removing content from the app without deleting it, such as a time-sensitive promotional banner after the sale has ended.
The real power of the visibility feature lies in the Conditional Filter. This function allows you to set up custom logic to show or hide a block based on specific rules you define. By using conditional filters, you can personalize the app experience for individual customers or groups.
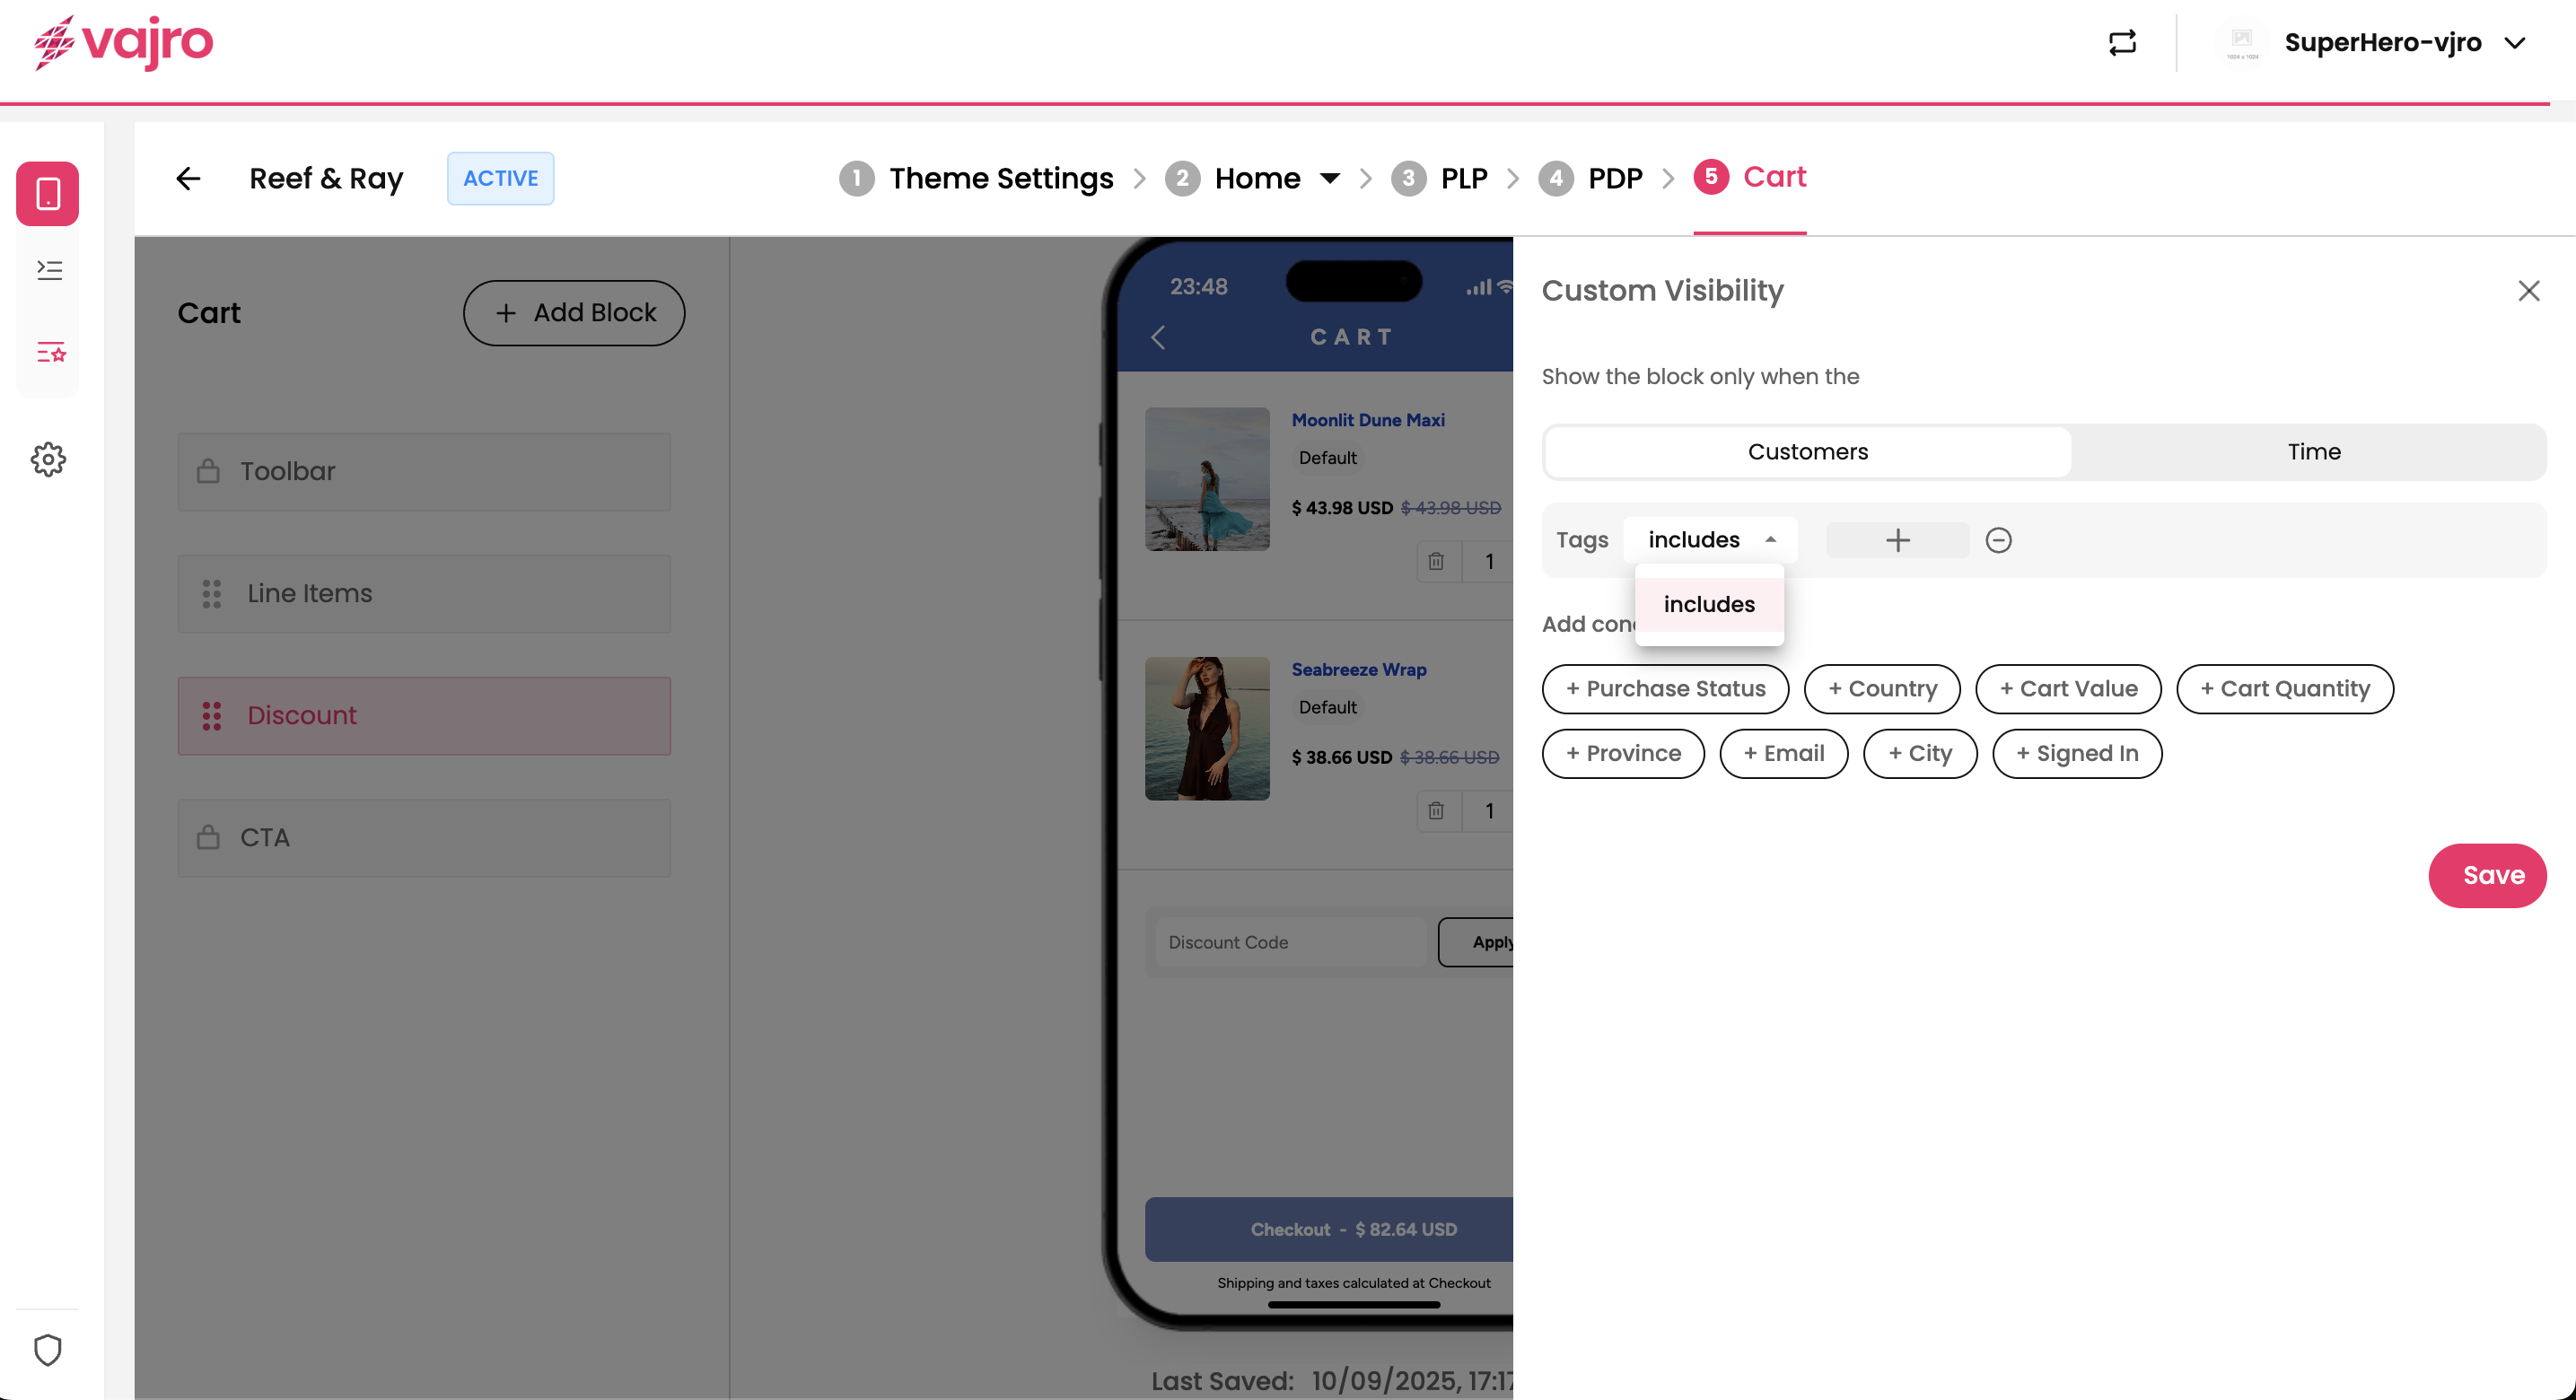
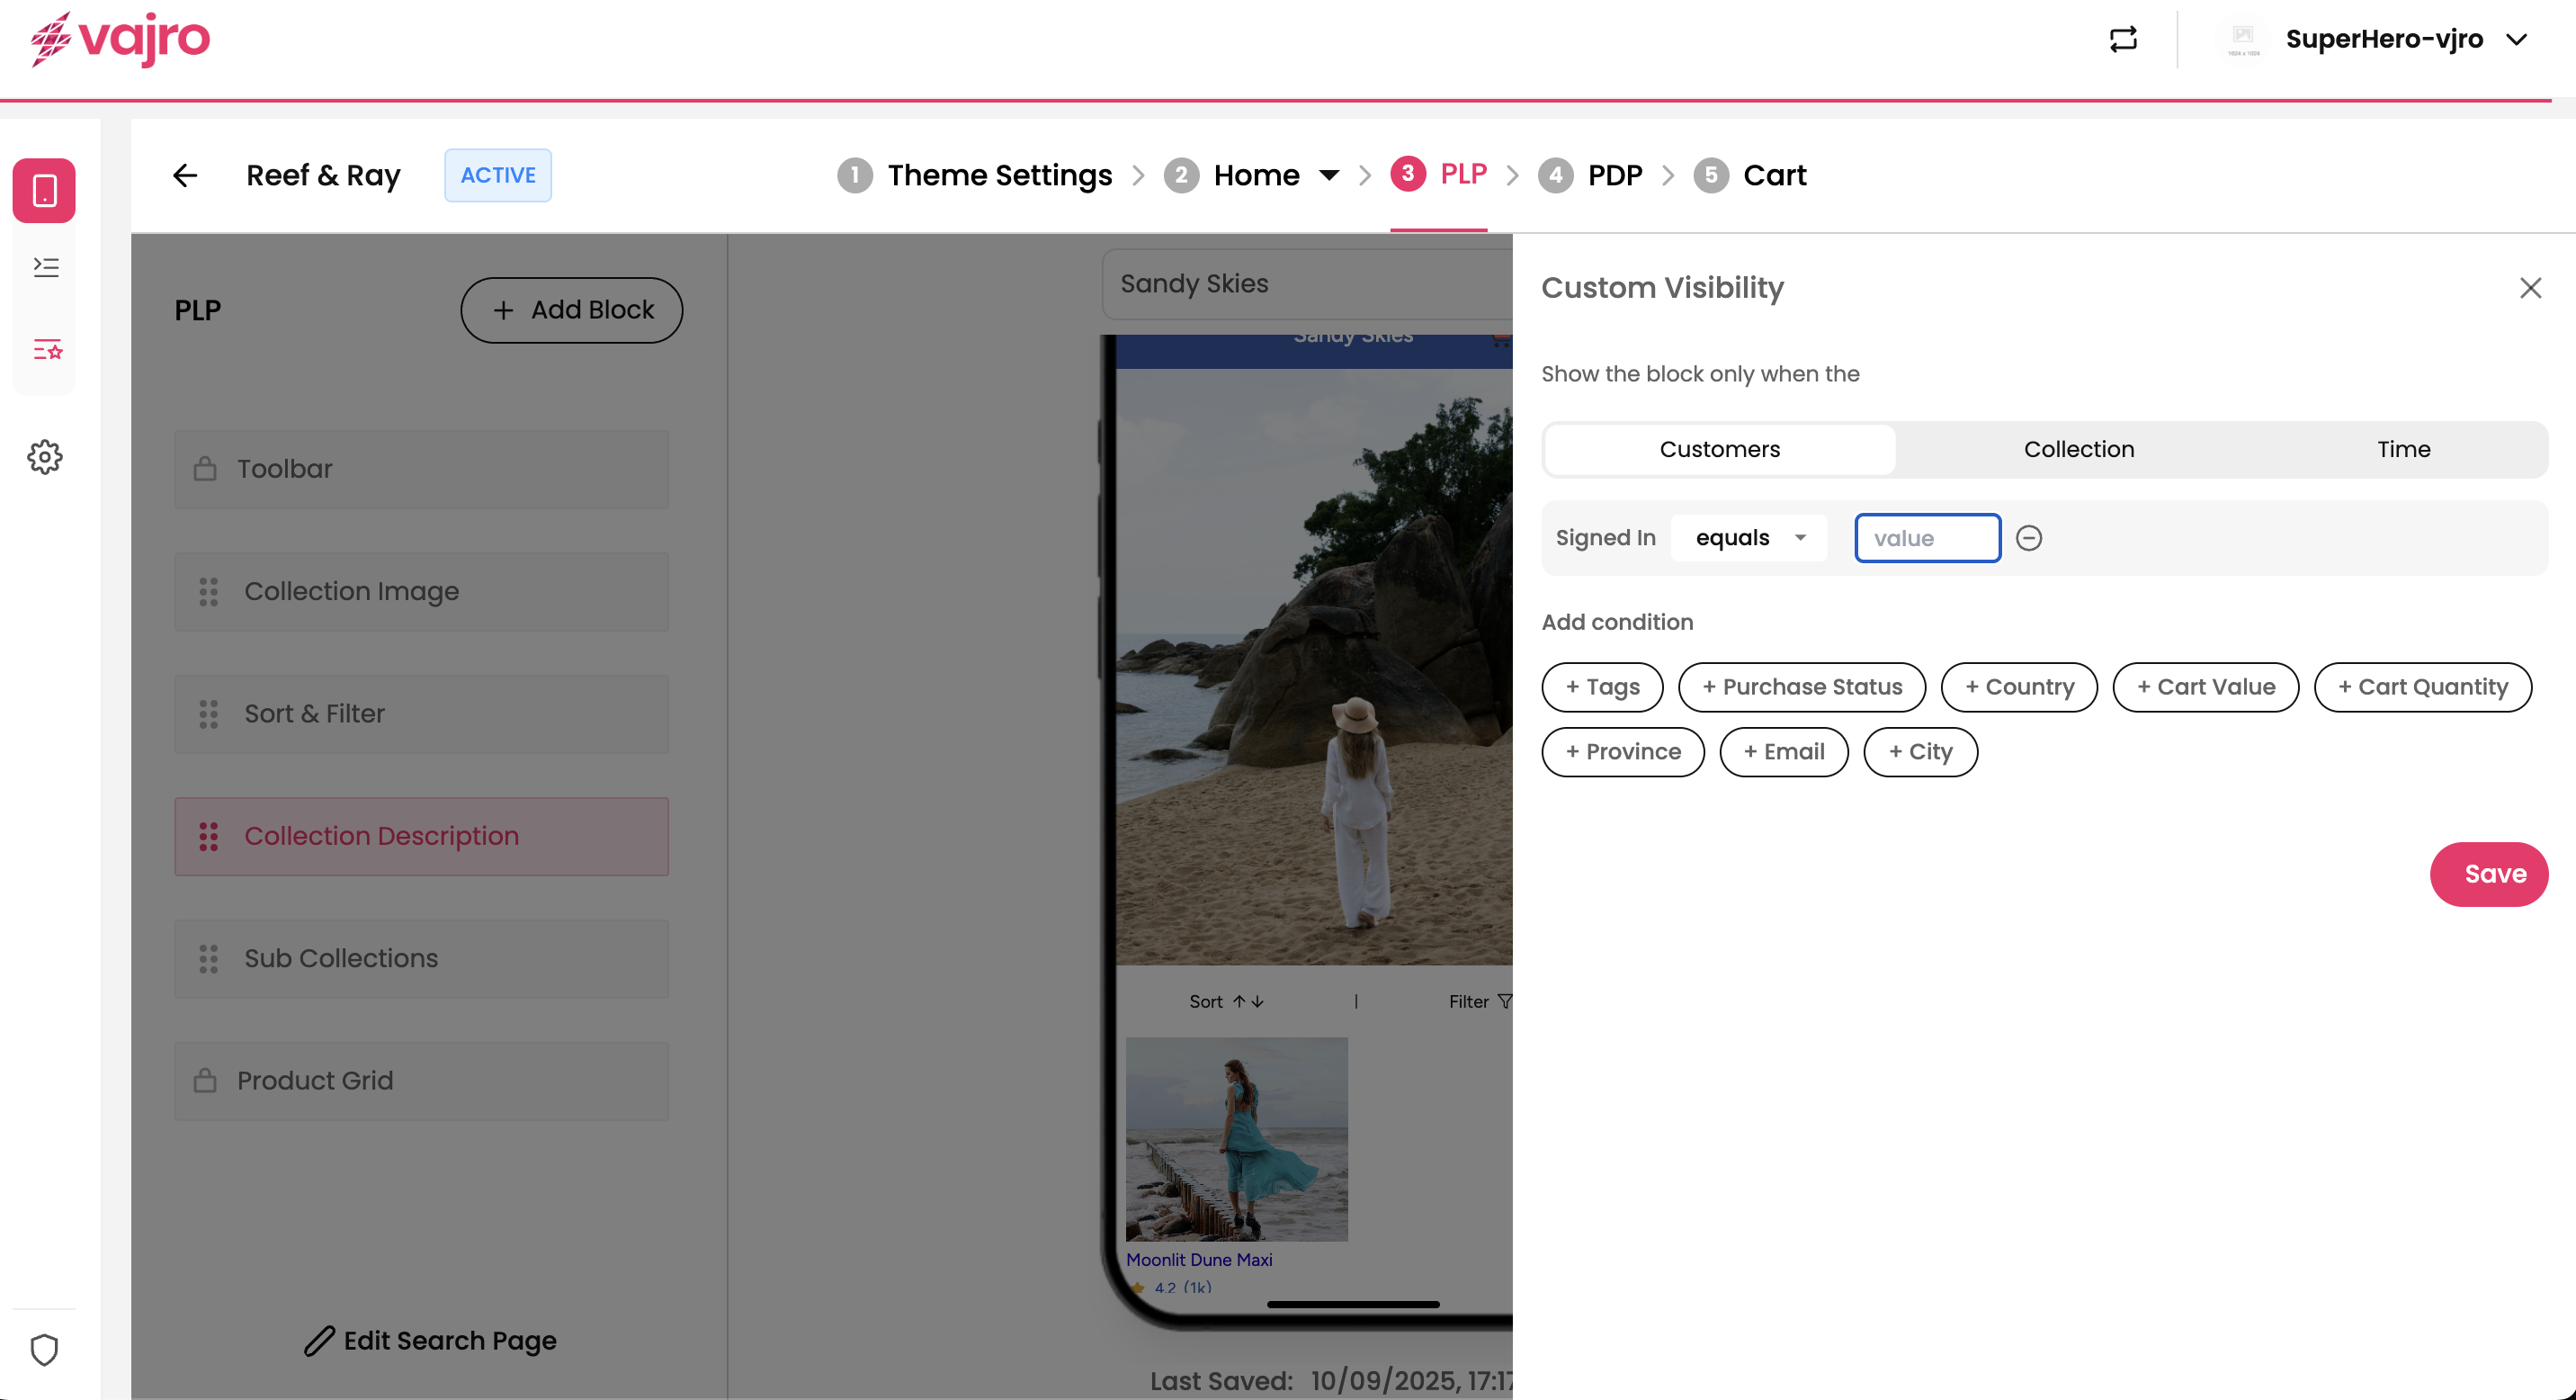
To access the conditional filter settings, select a widget in the design editor and click on Setup next to "Conditional Filter." From there, you can choose from a range of conditions to create your personalization rules.
Customer-based conditions let you target visibility rules depending on the shopper’s profile, behavior, or location. These apply to all pages: Home, PLP, PDP, and Cart.
What it does: Targets customers by Shopify tags you’ve set in your store (e.g., VIP, Wholesale).
How it works: Enter the tag in the panel, and the block will only be visible to customers with that tag.
Example: Show a “VIP Exclusive Sale” banner only to customers tagged as VIP.
What it does: Shows or hides blocks based on whether the customer has purchased before.
How it works: Choose from one of four conditions (Equals only):
Purchased before
Not purchased before
Purchased before from app
Not purchased before from app
Example: Show a “Welcome Offer” to first-time app users.

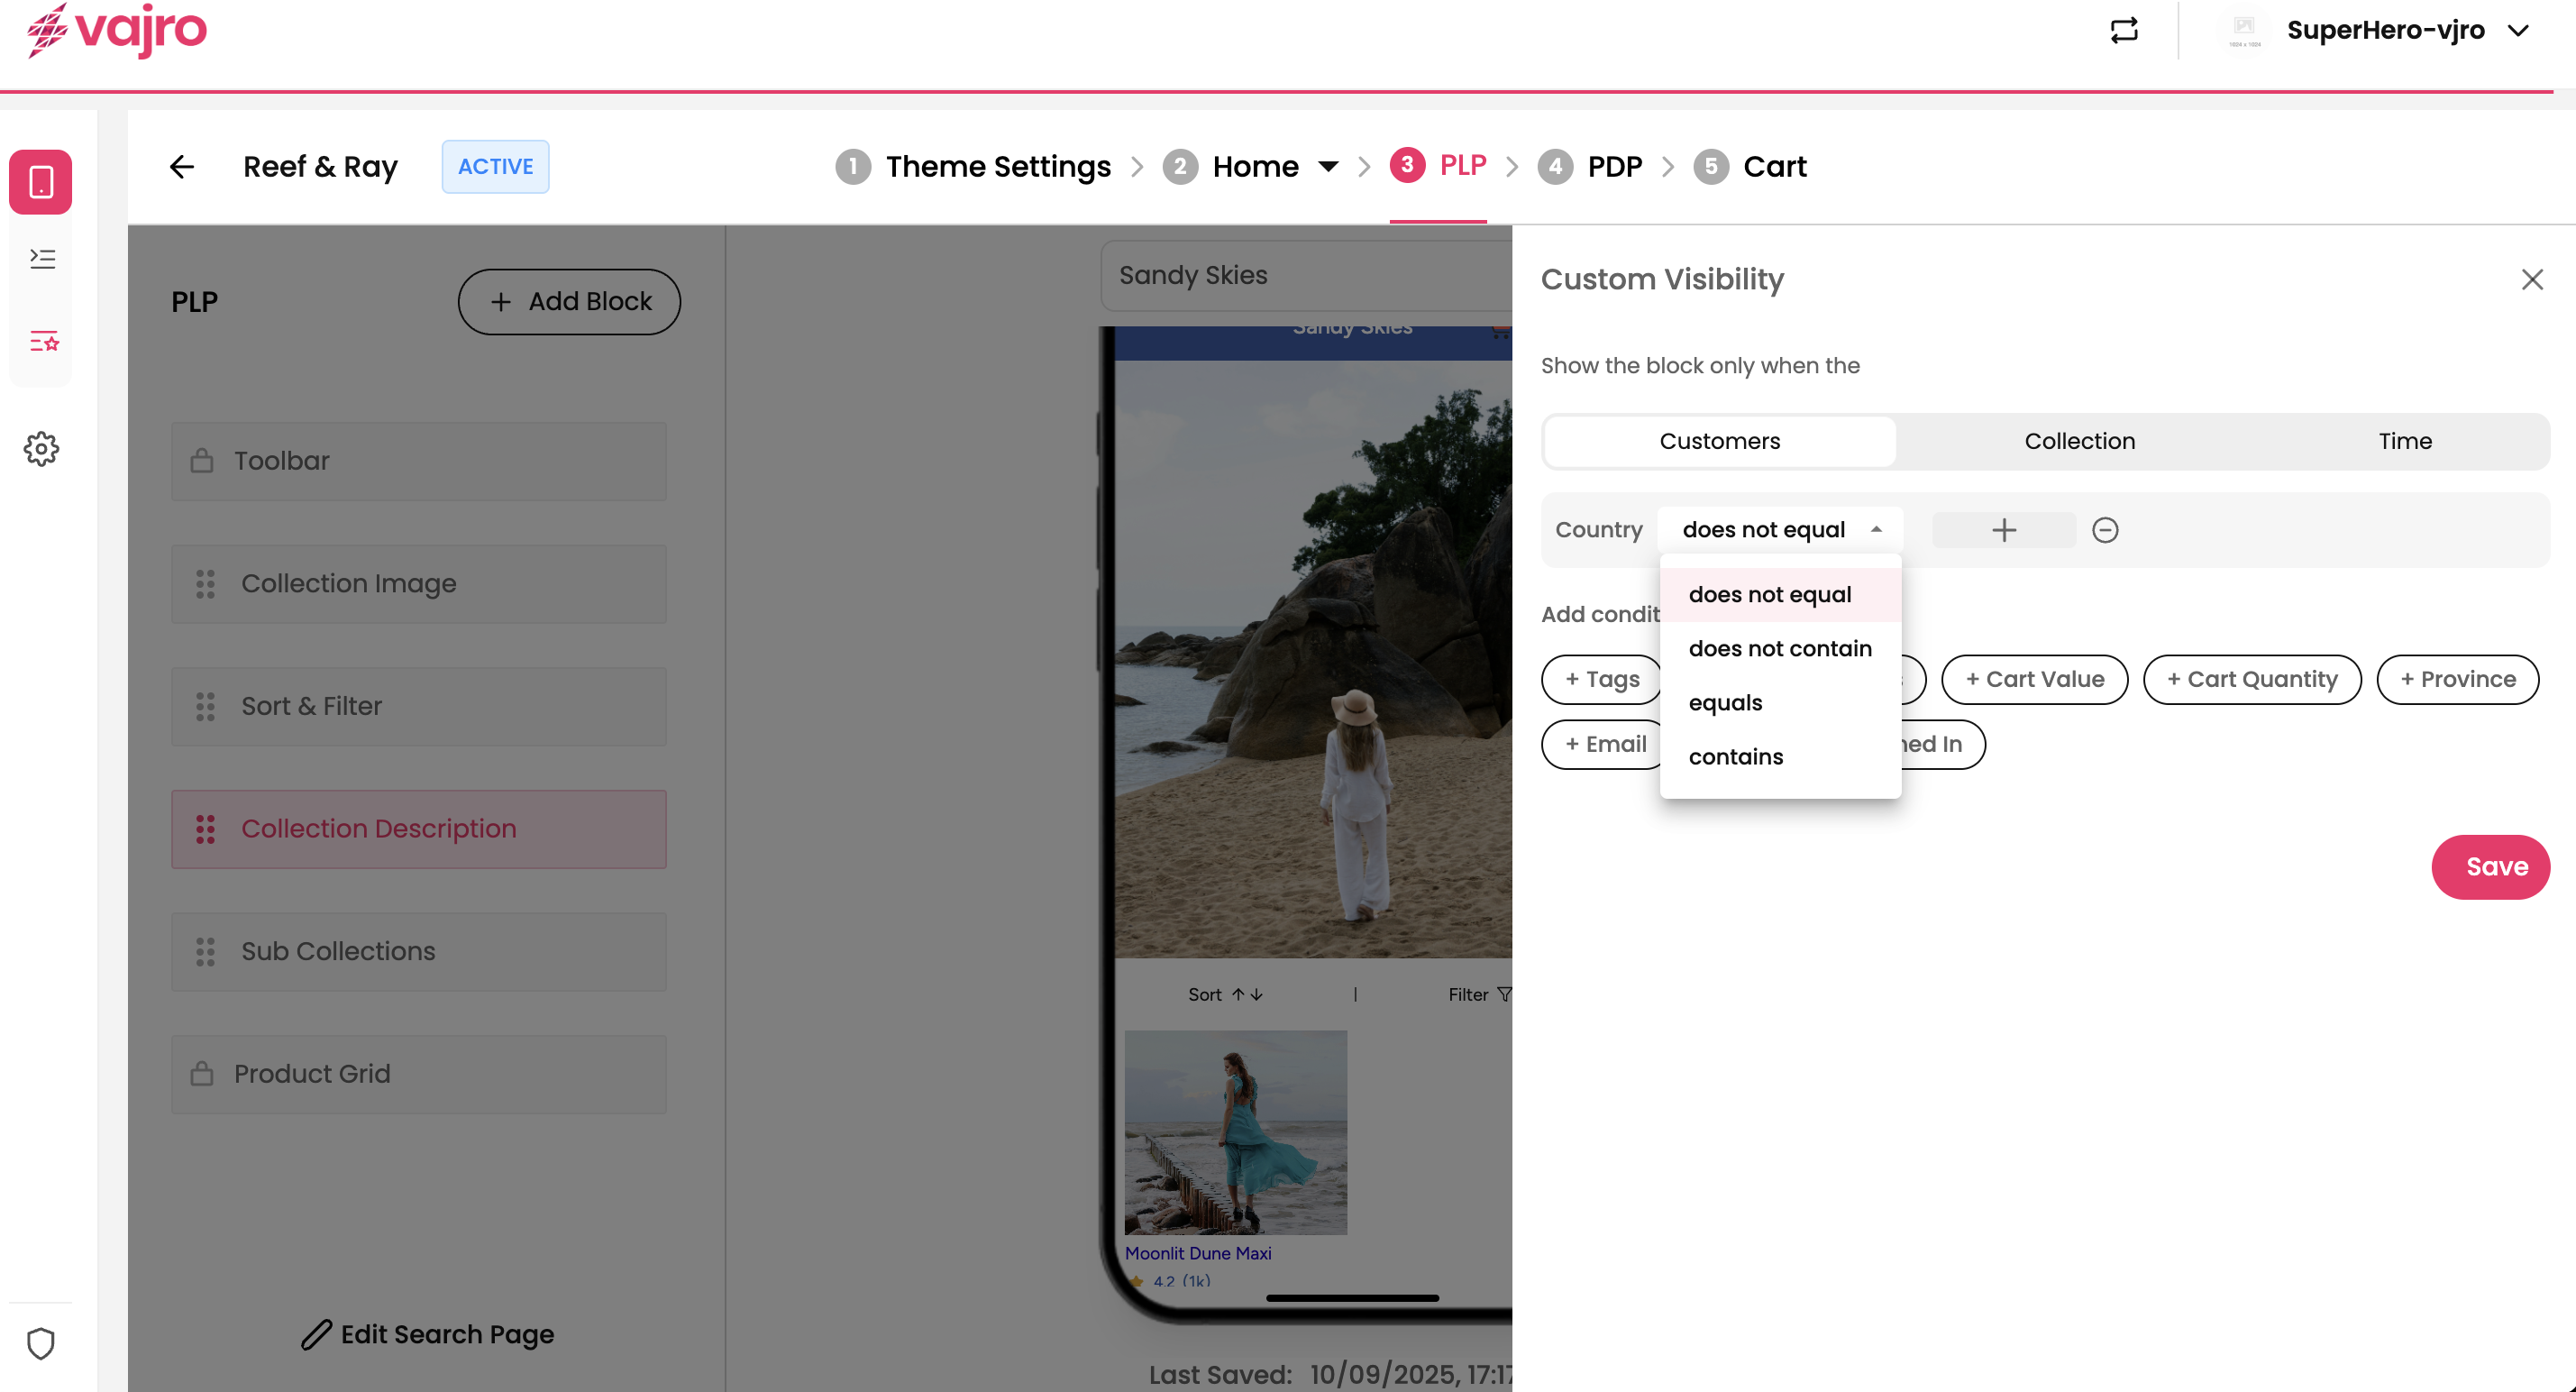
What it does: Filters content by customer’s country.
How it works: Use operators: Equals, Does Not Equal, Contains, Does Not Contain. Add the country name in the panel.
Example: Show a “Free Shipping in USA” banner only for U.S. customers.
What it does: Narrows targeting to specific provinces or states.
How it works: Use operators: Equals, Does Not Equal, Contains, Does Not Contain. Add the province name in the panel.
Example: Show a “California Exclusive Sale” to shoppers in California.

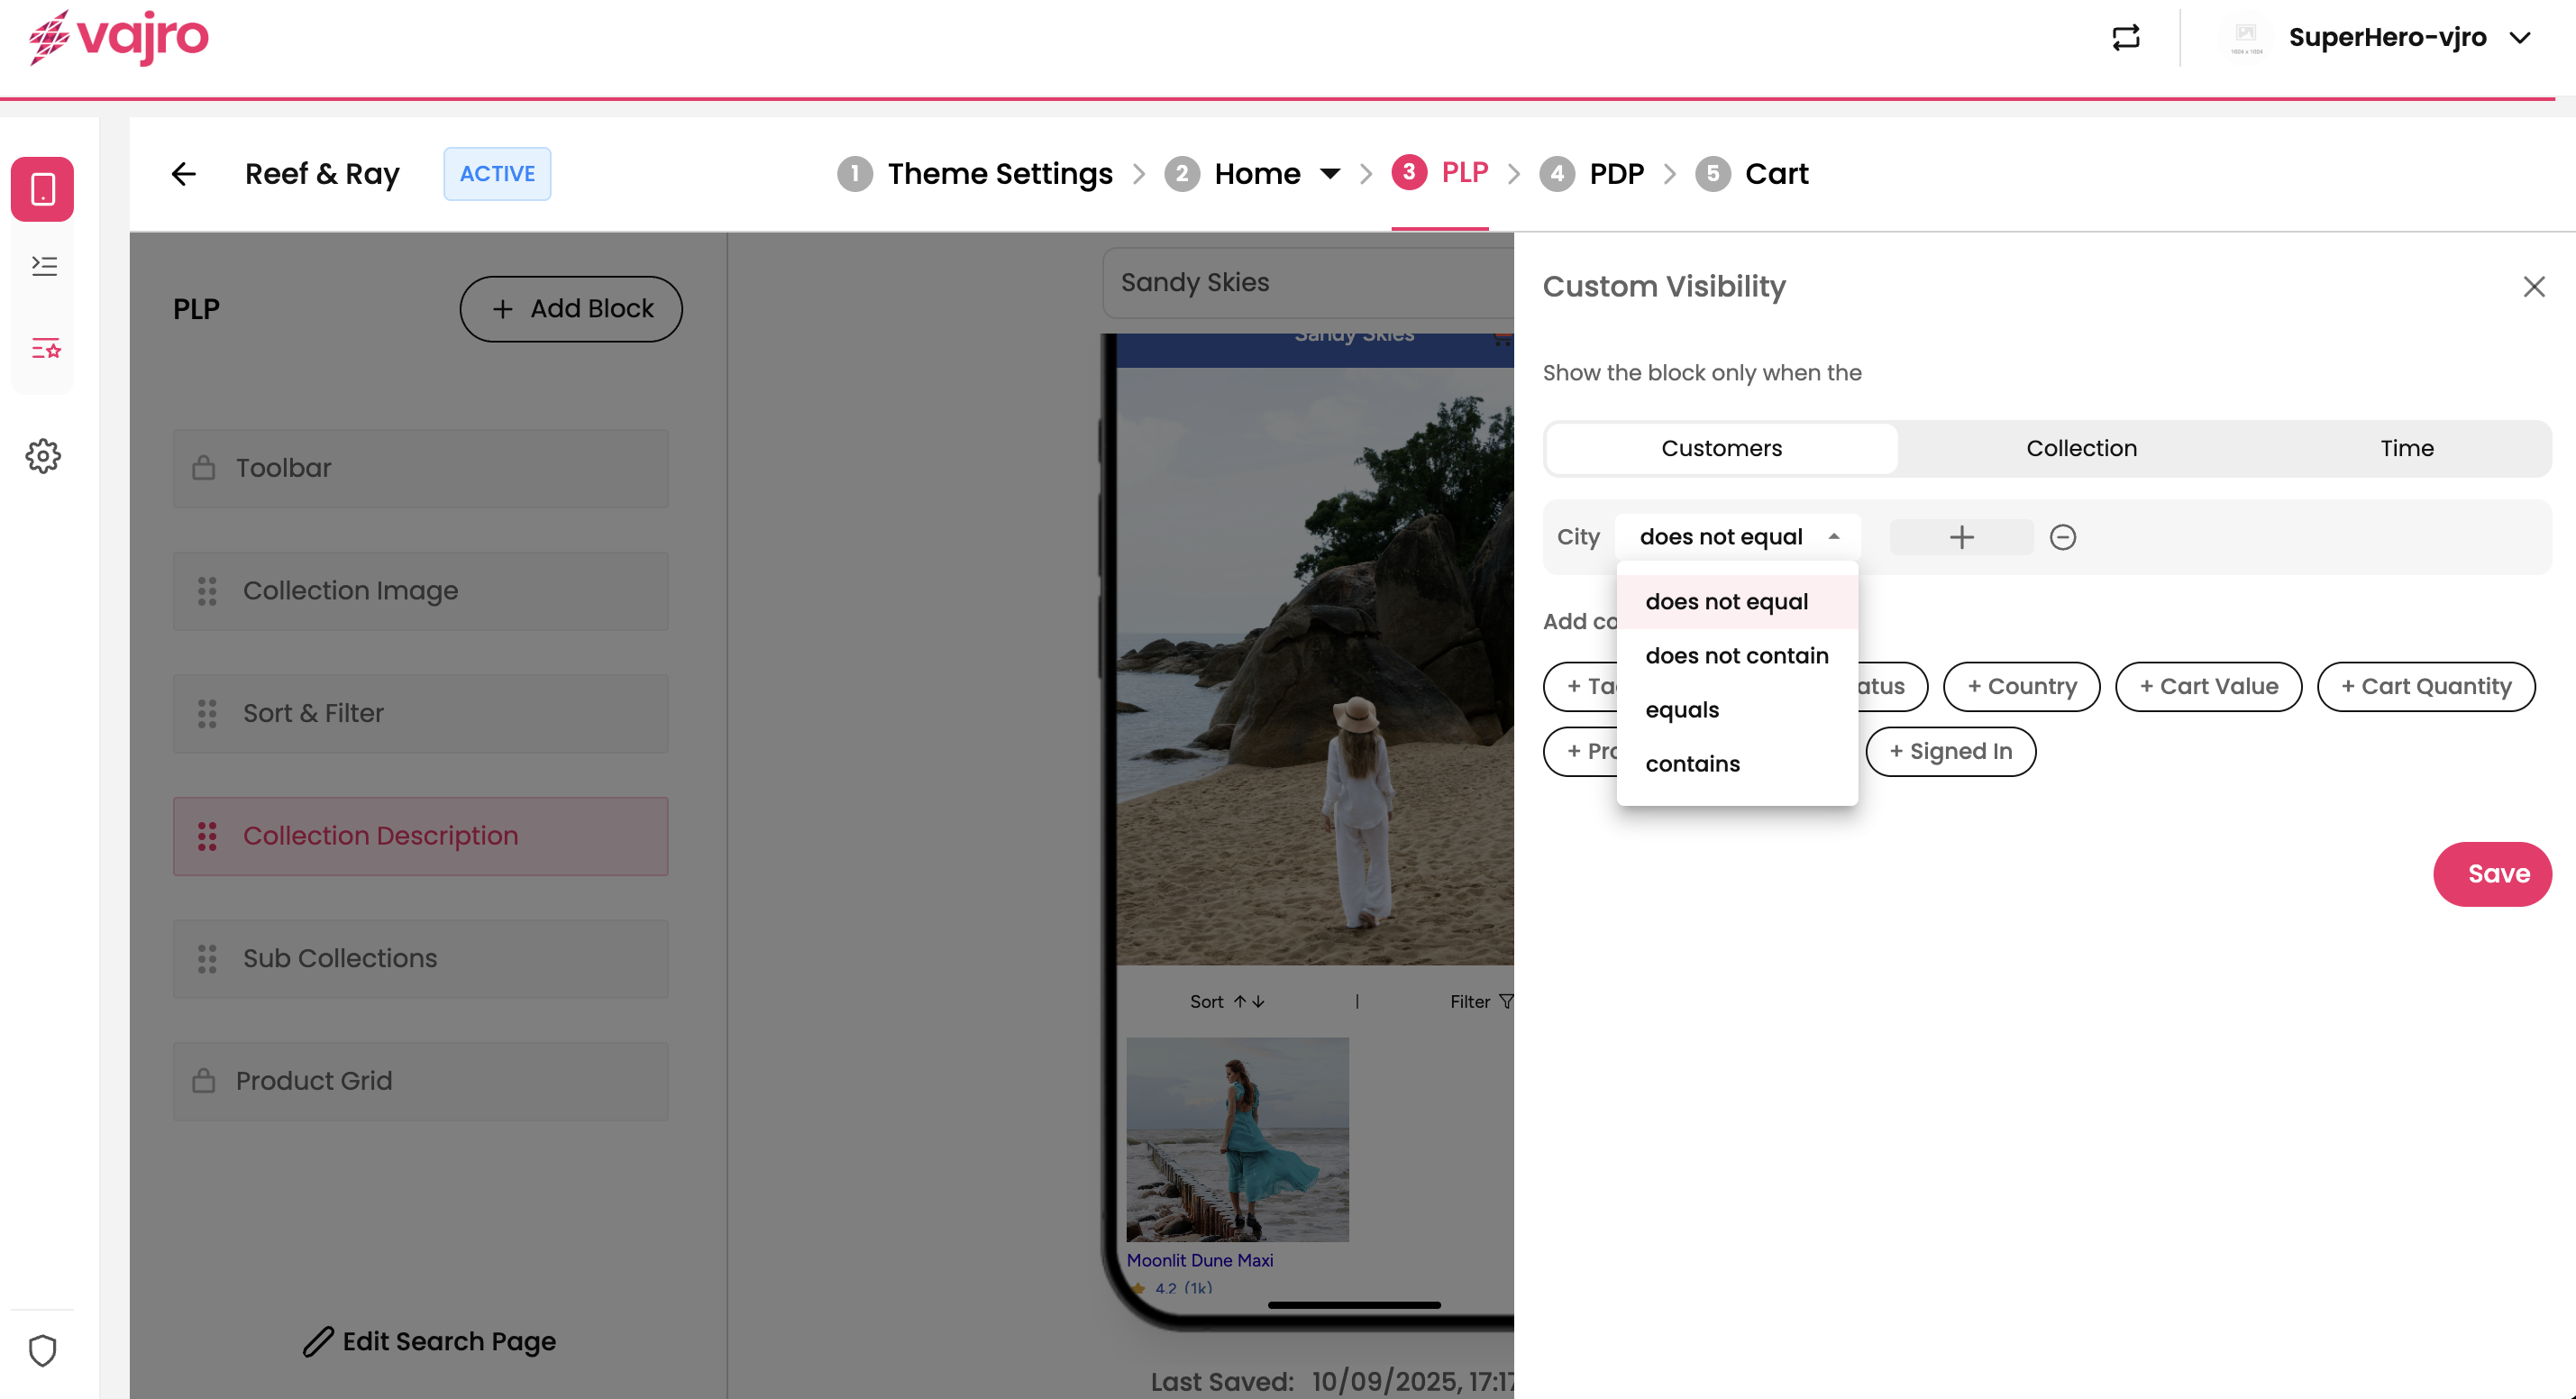
What it does: Targets visibility by customer city.
How it works: Use operators: Equals, Does Not Equal, Contains, Does Not Contain. Add the city name in the panel.
Example: Display a “New York Store Pickup” block only for NYC customers.
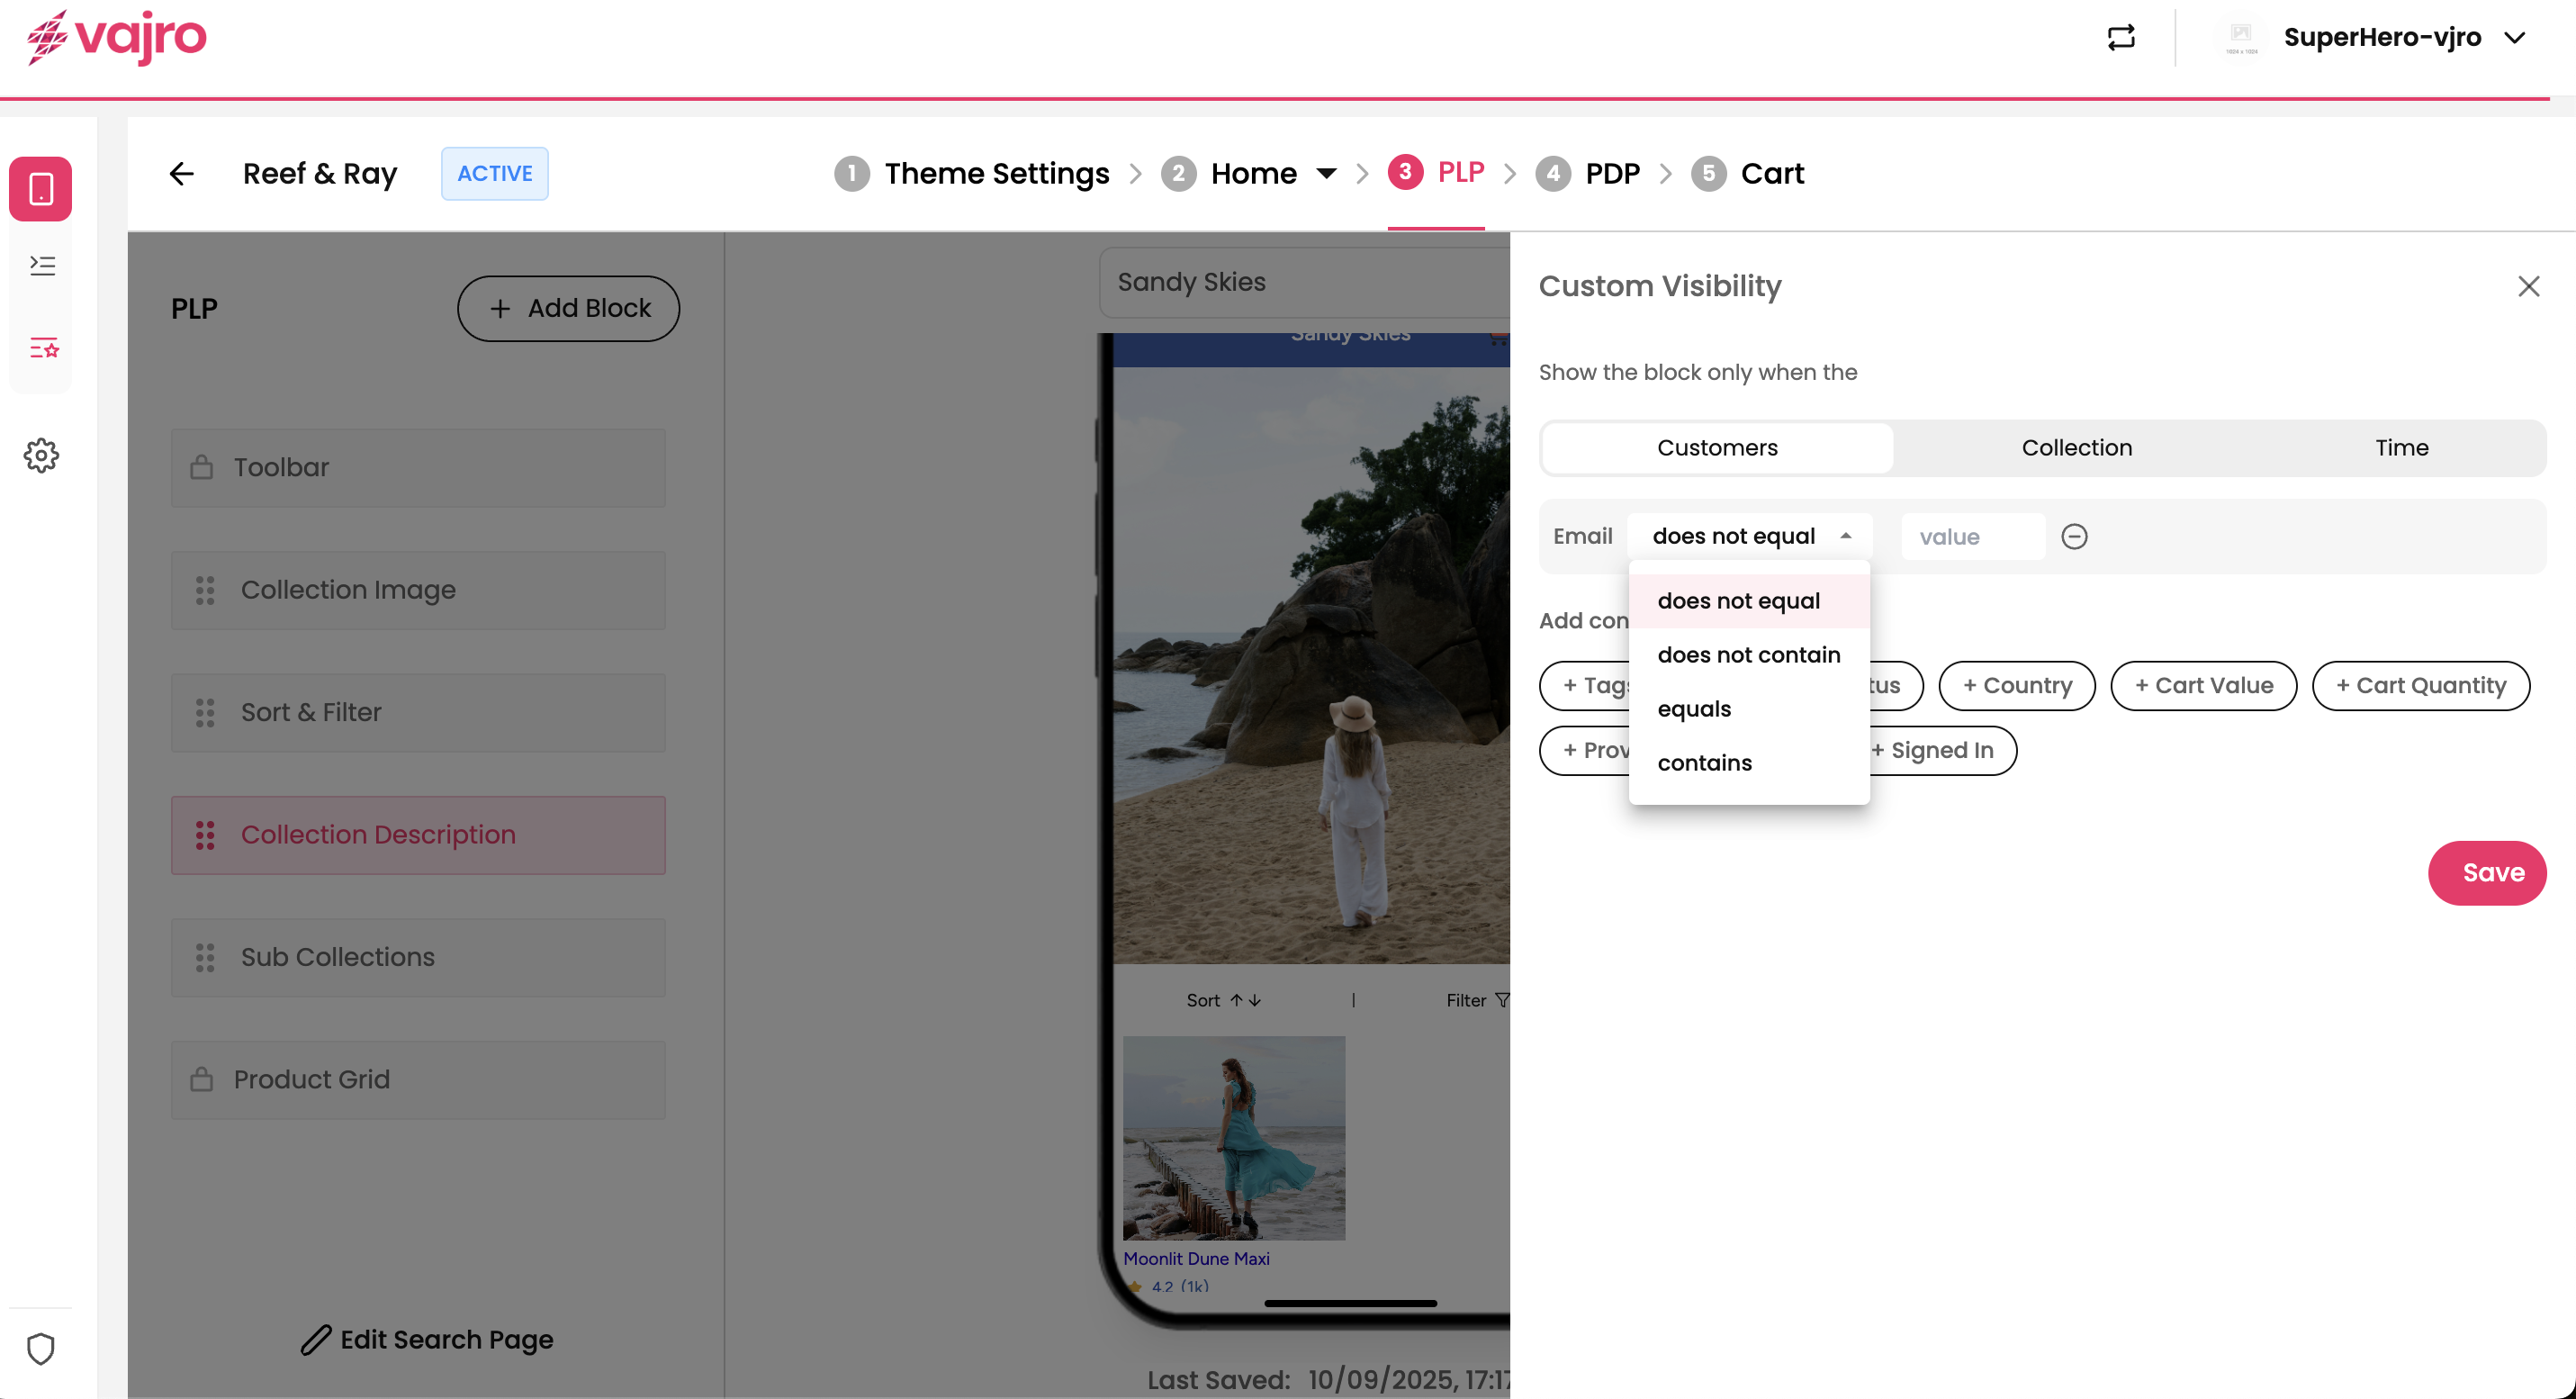
What it does: Targets customers by email address or domain.
How it works: Use operators: Equals, Does Not Equal, Contains, Does Not Contain. Enter the email or domain.
Example: Show test banners only to staff emails ending with @yourbrand.com.
What it does: Differentiates between logged-in users and guests.
How it works: Operator = Equals (True/False).
Example: Show “Welcome Back, Member!” to signed-in customers, and “Log In for Offers” to guests.
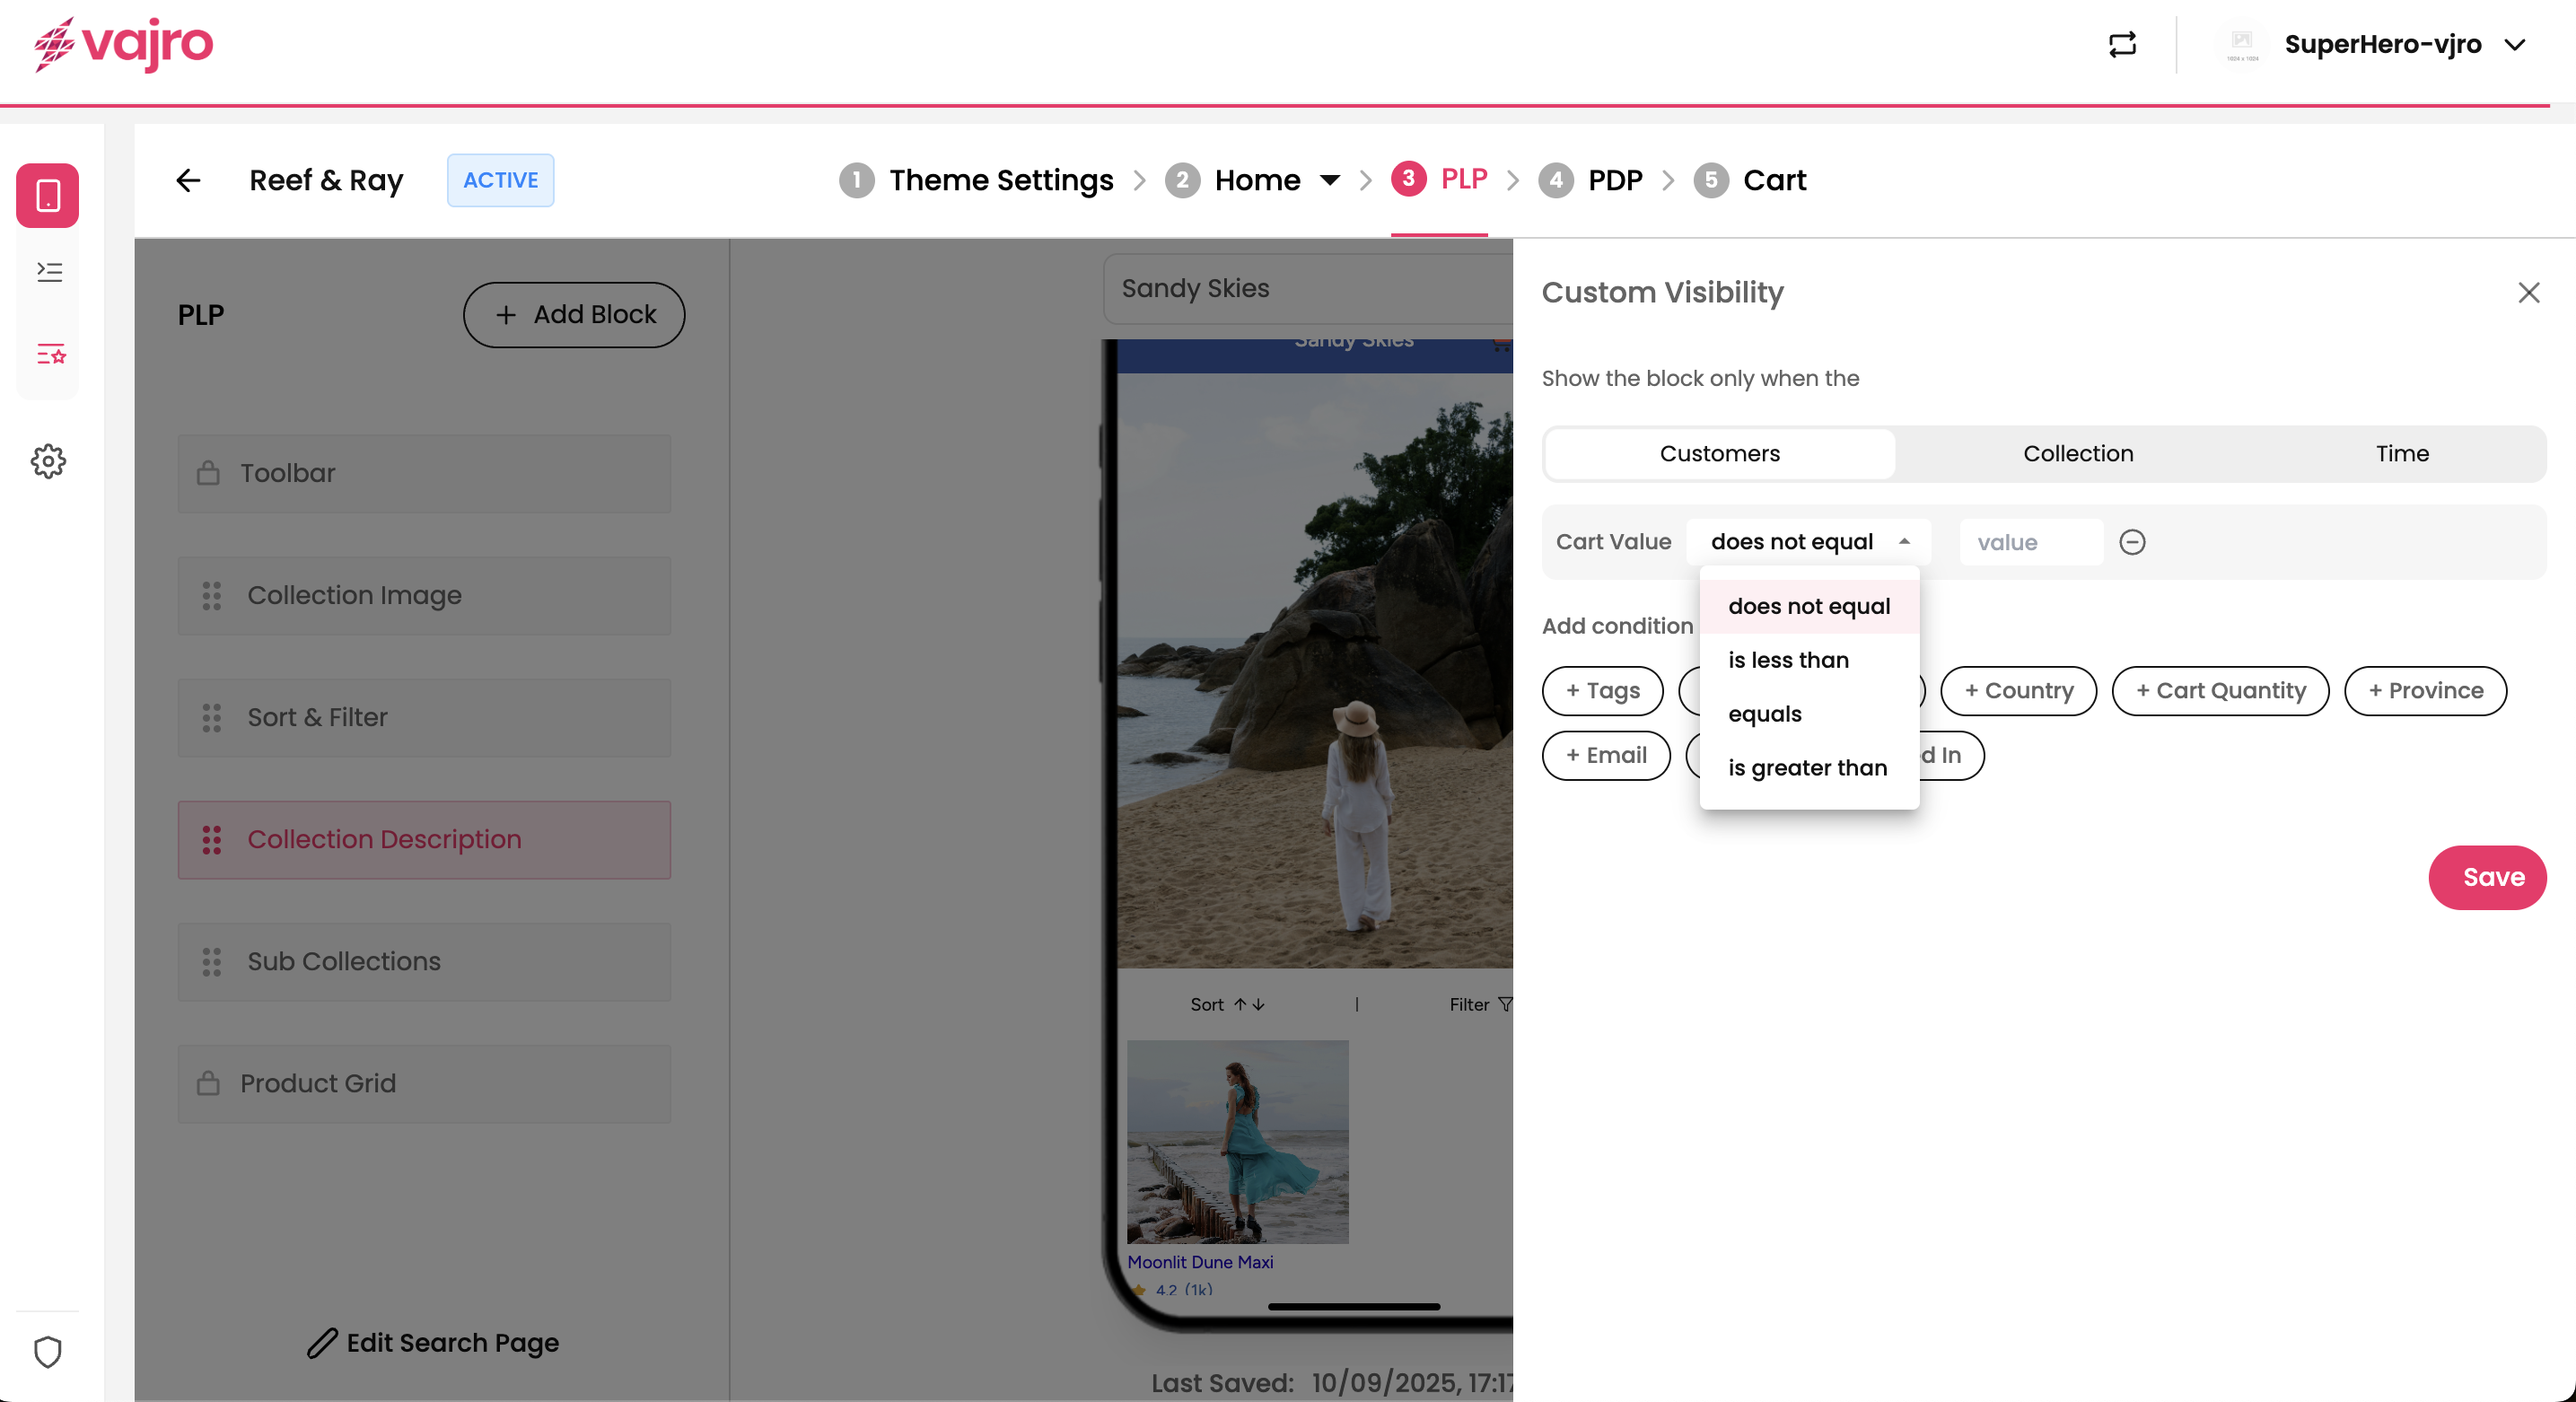
What it does: Shows or hides blocks based on the total cart amount.
How it works: Operators: Equals, Does Not Equal, Less Than, Greater Than. Enter a value (amount).
Example: Show “Free Shipping Over $50” when the cart value is greater than $50.
What it does: Shows or hides blocks based on the number of items in the cart.
How it works: Operators: Equals, Does Not Equal, Less Than, Greater Than. Enter a value (quantity).
Example: Display a “Buy 2, Get 1 Free” banner when cart quantity ≥ 2.

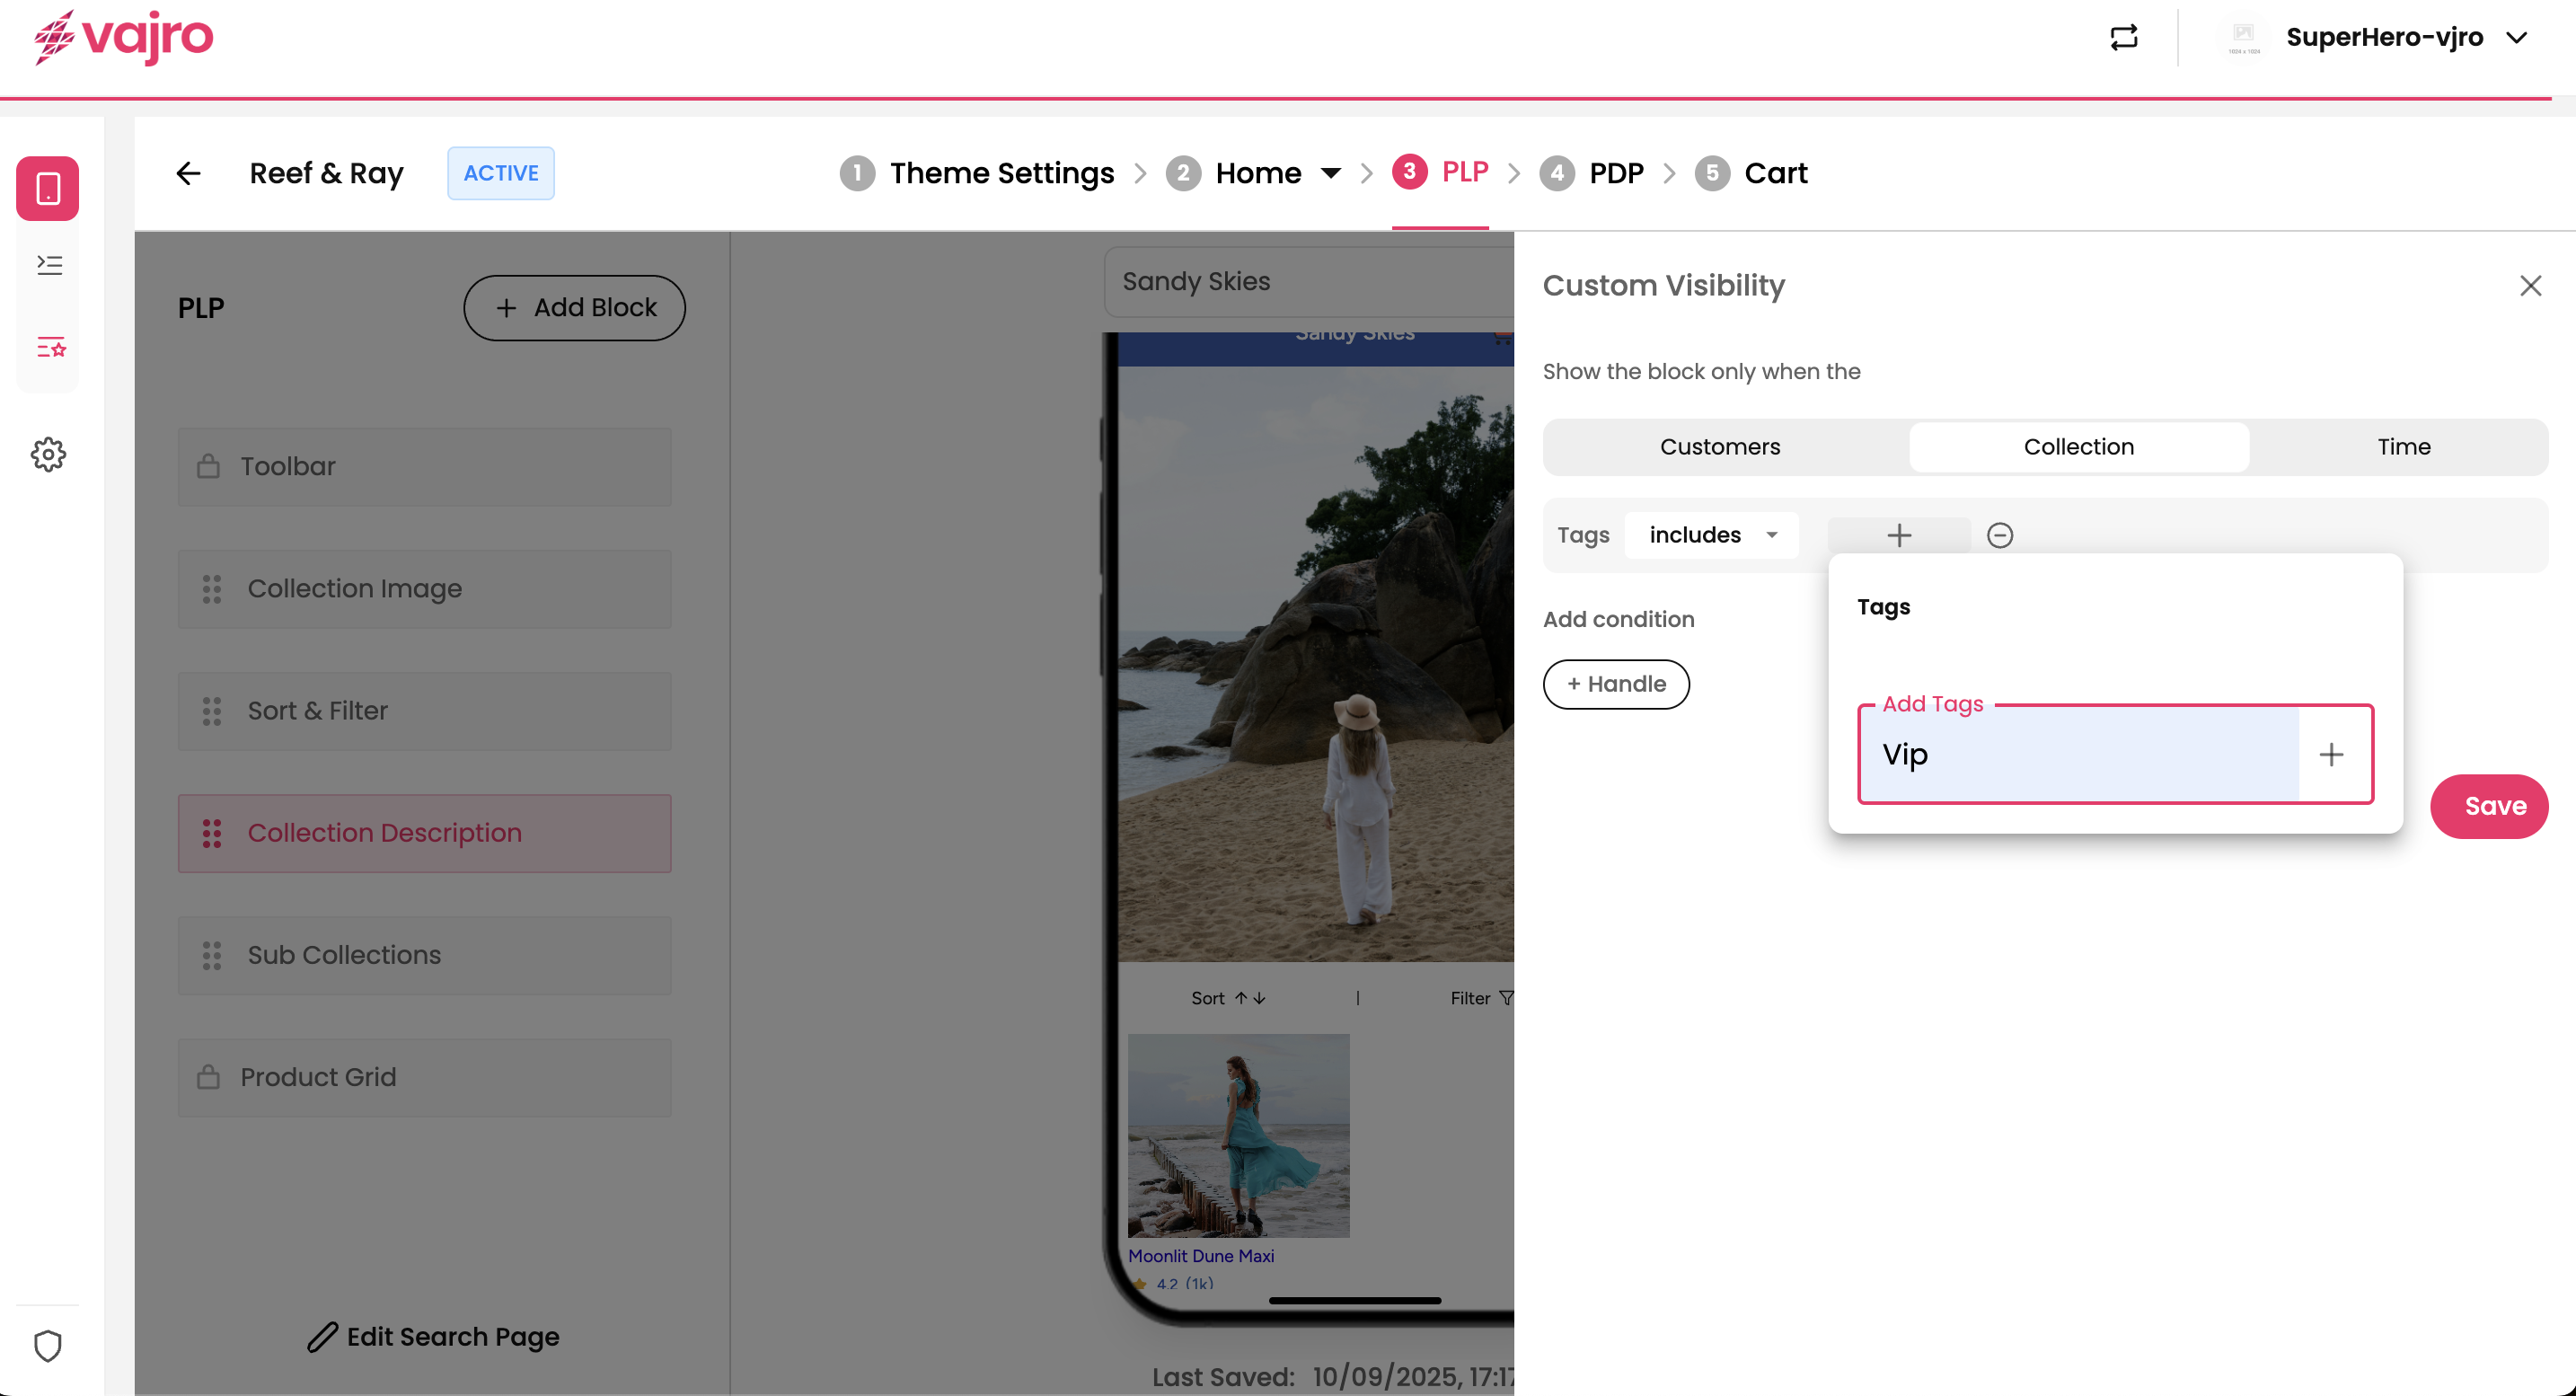
Collection-based conditions let you tailor visibility specifically for Product Listing Pages (PLPs).
What it does: Targets blocks based on collection tags.
How it works: Enter a tag. If a collection includes that tag, the block will display.
Example: Show a “Summer Collection” header banner only for collections tagged Summer.
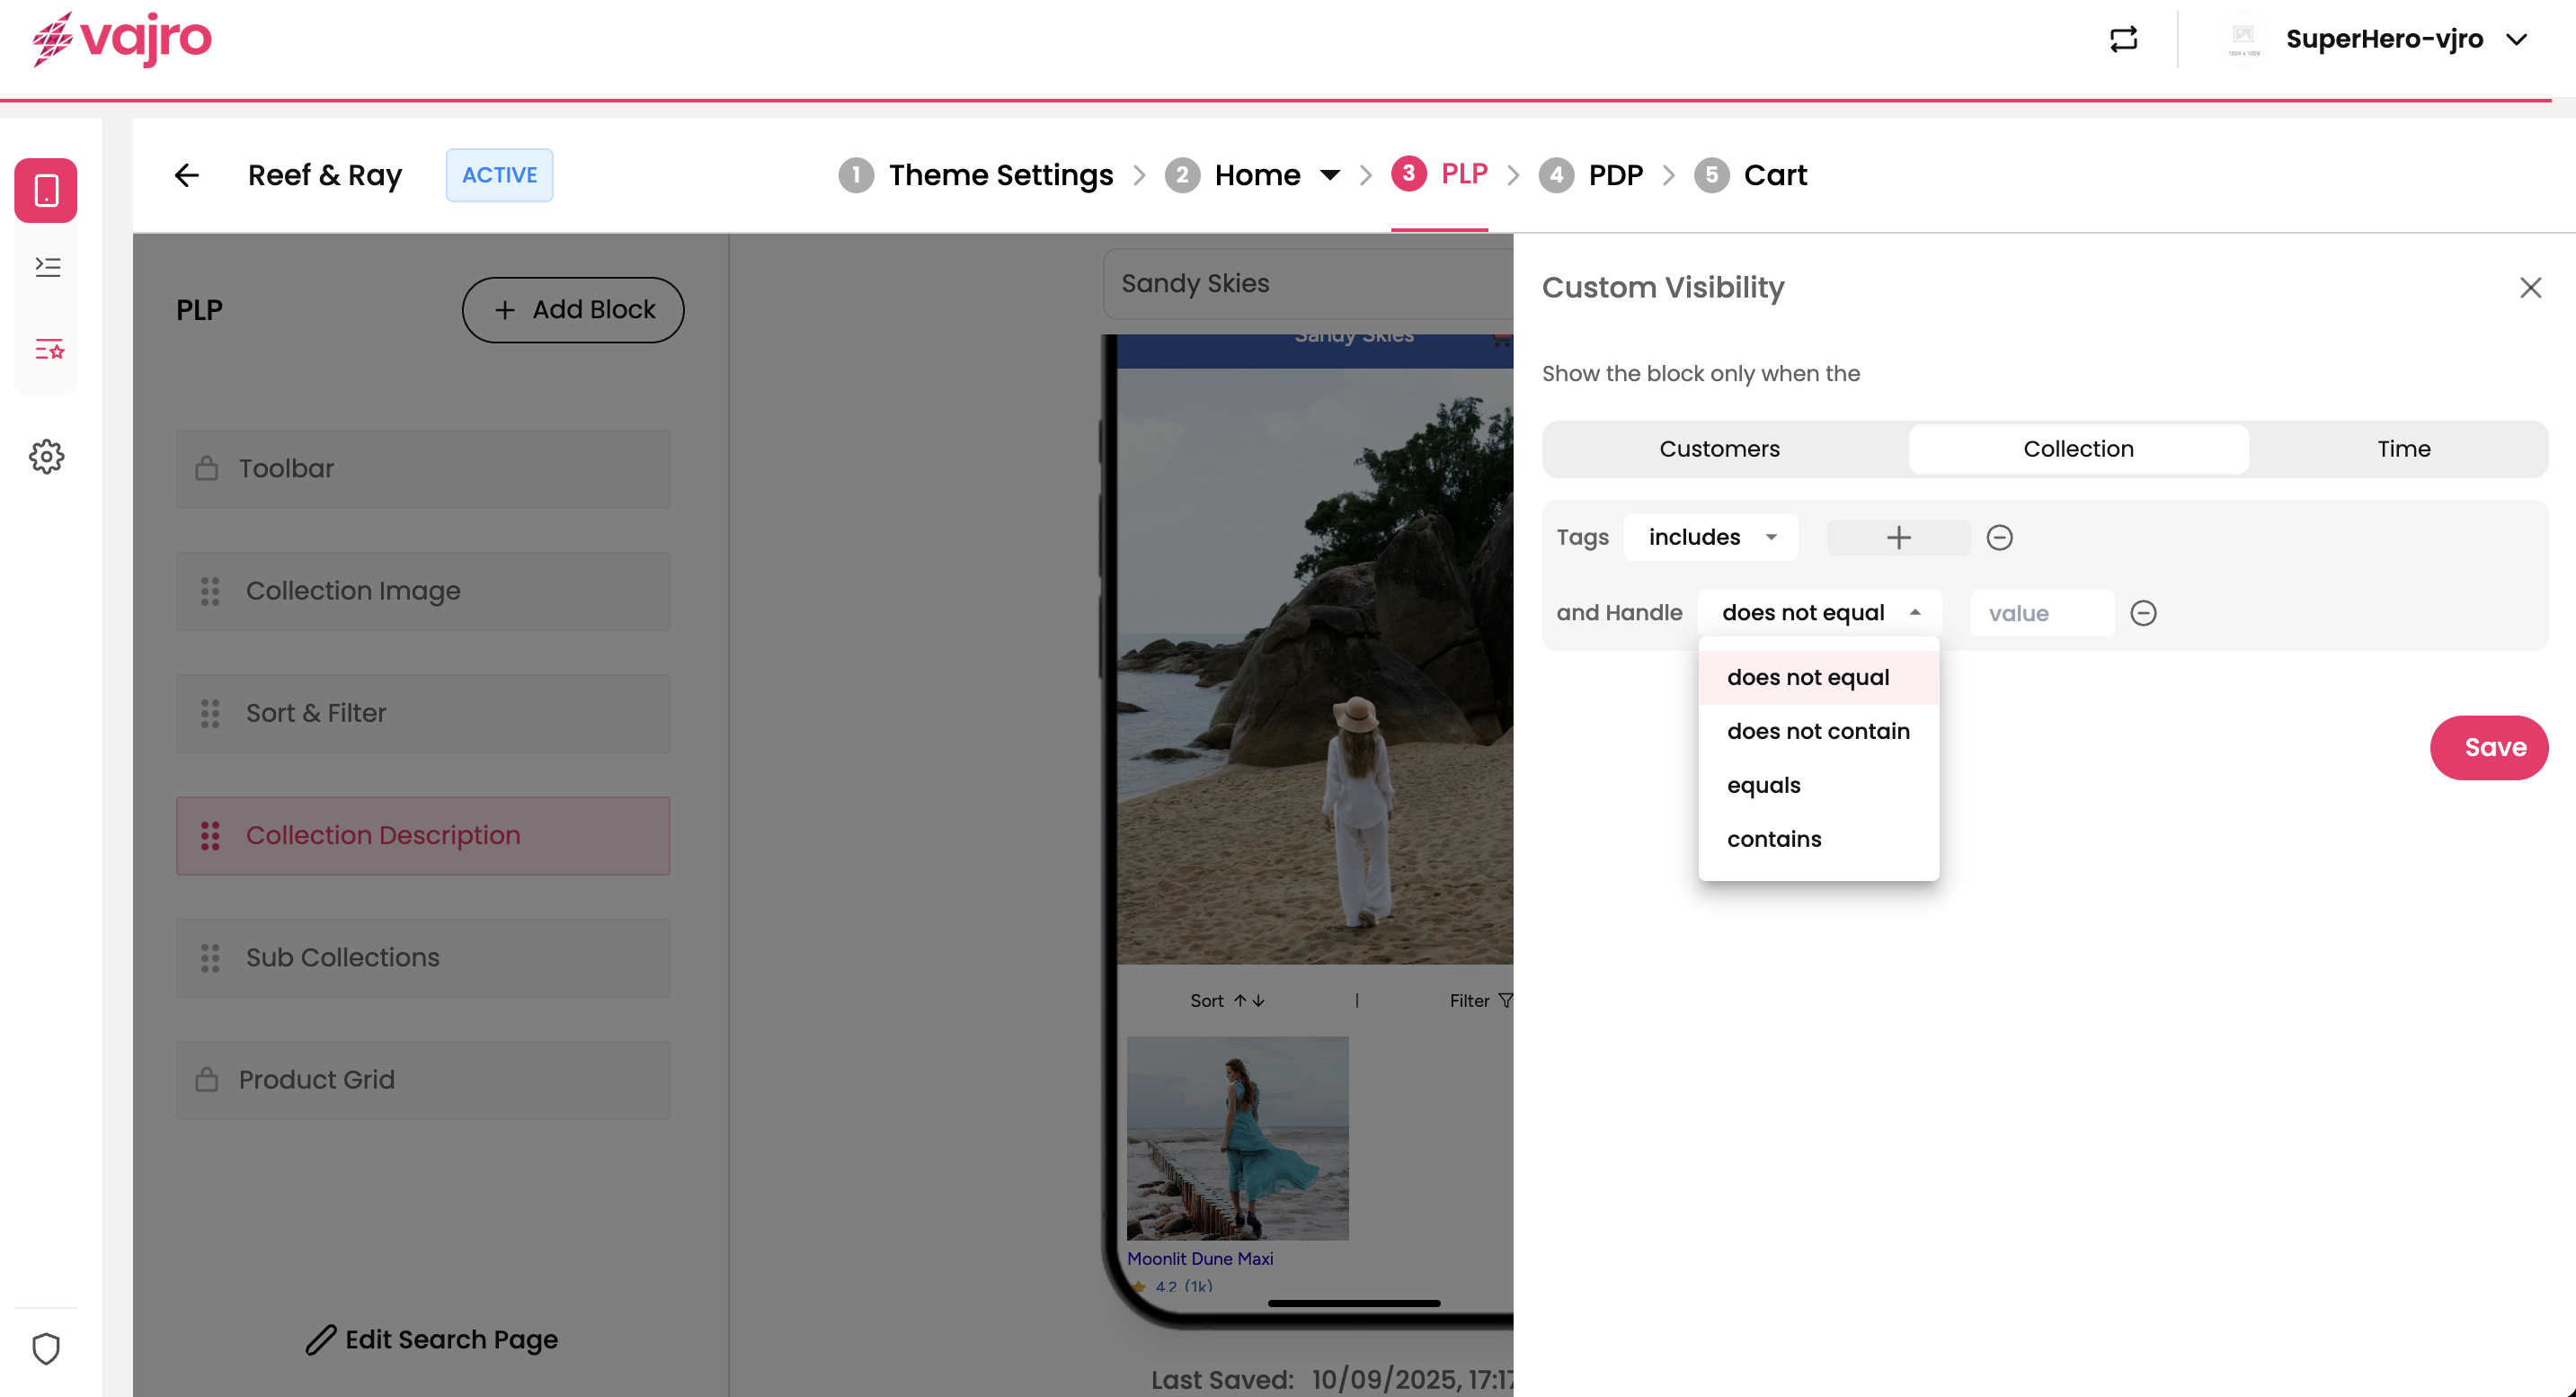
What it does: Filters content based on the collection handle.
How it works: Operators: Equals, Does Not Equal, Contains, Does Not Contain. Add the handle in the panel.
Example: Hide certain promotional blocks from collections whose handle contains “clearance.”
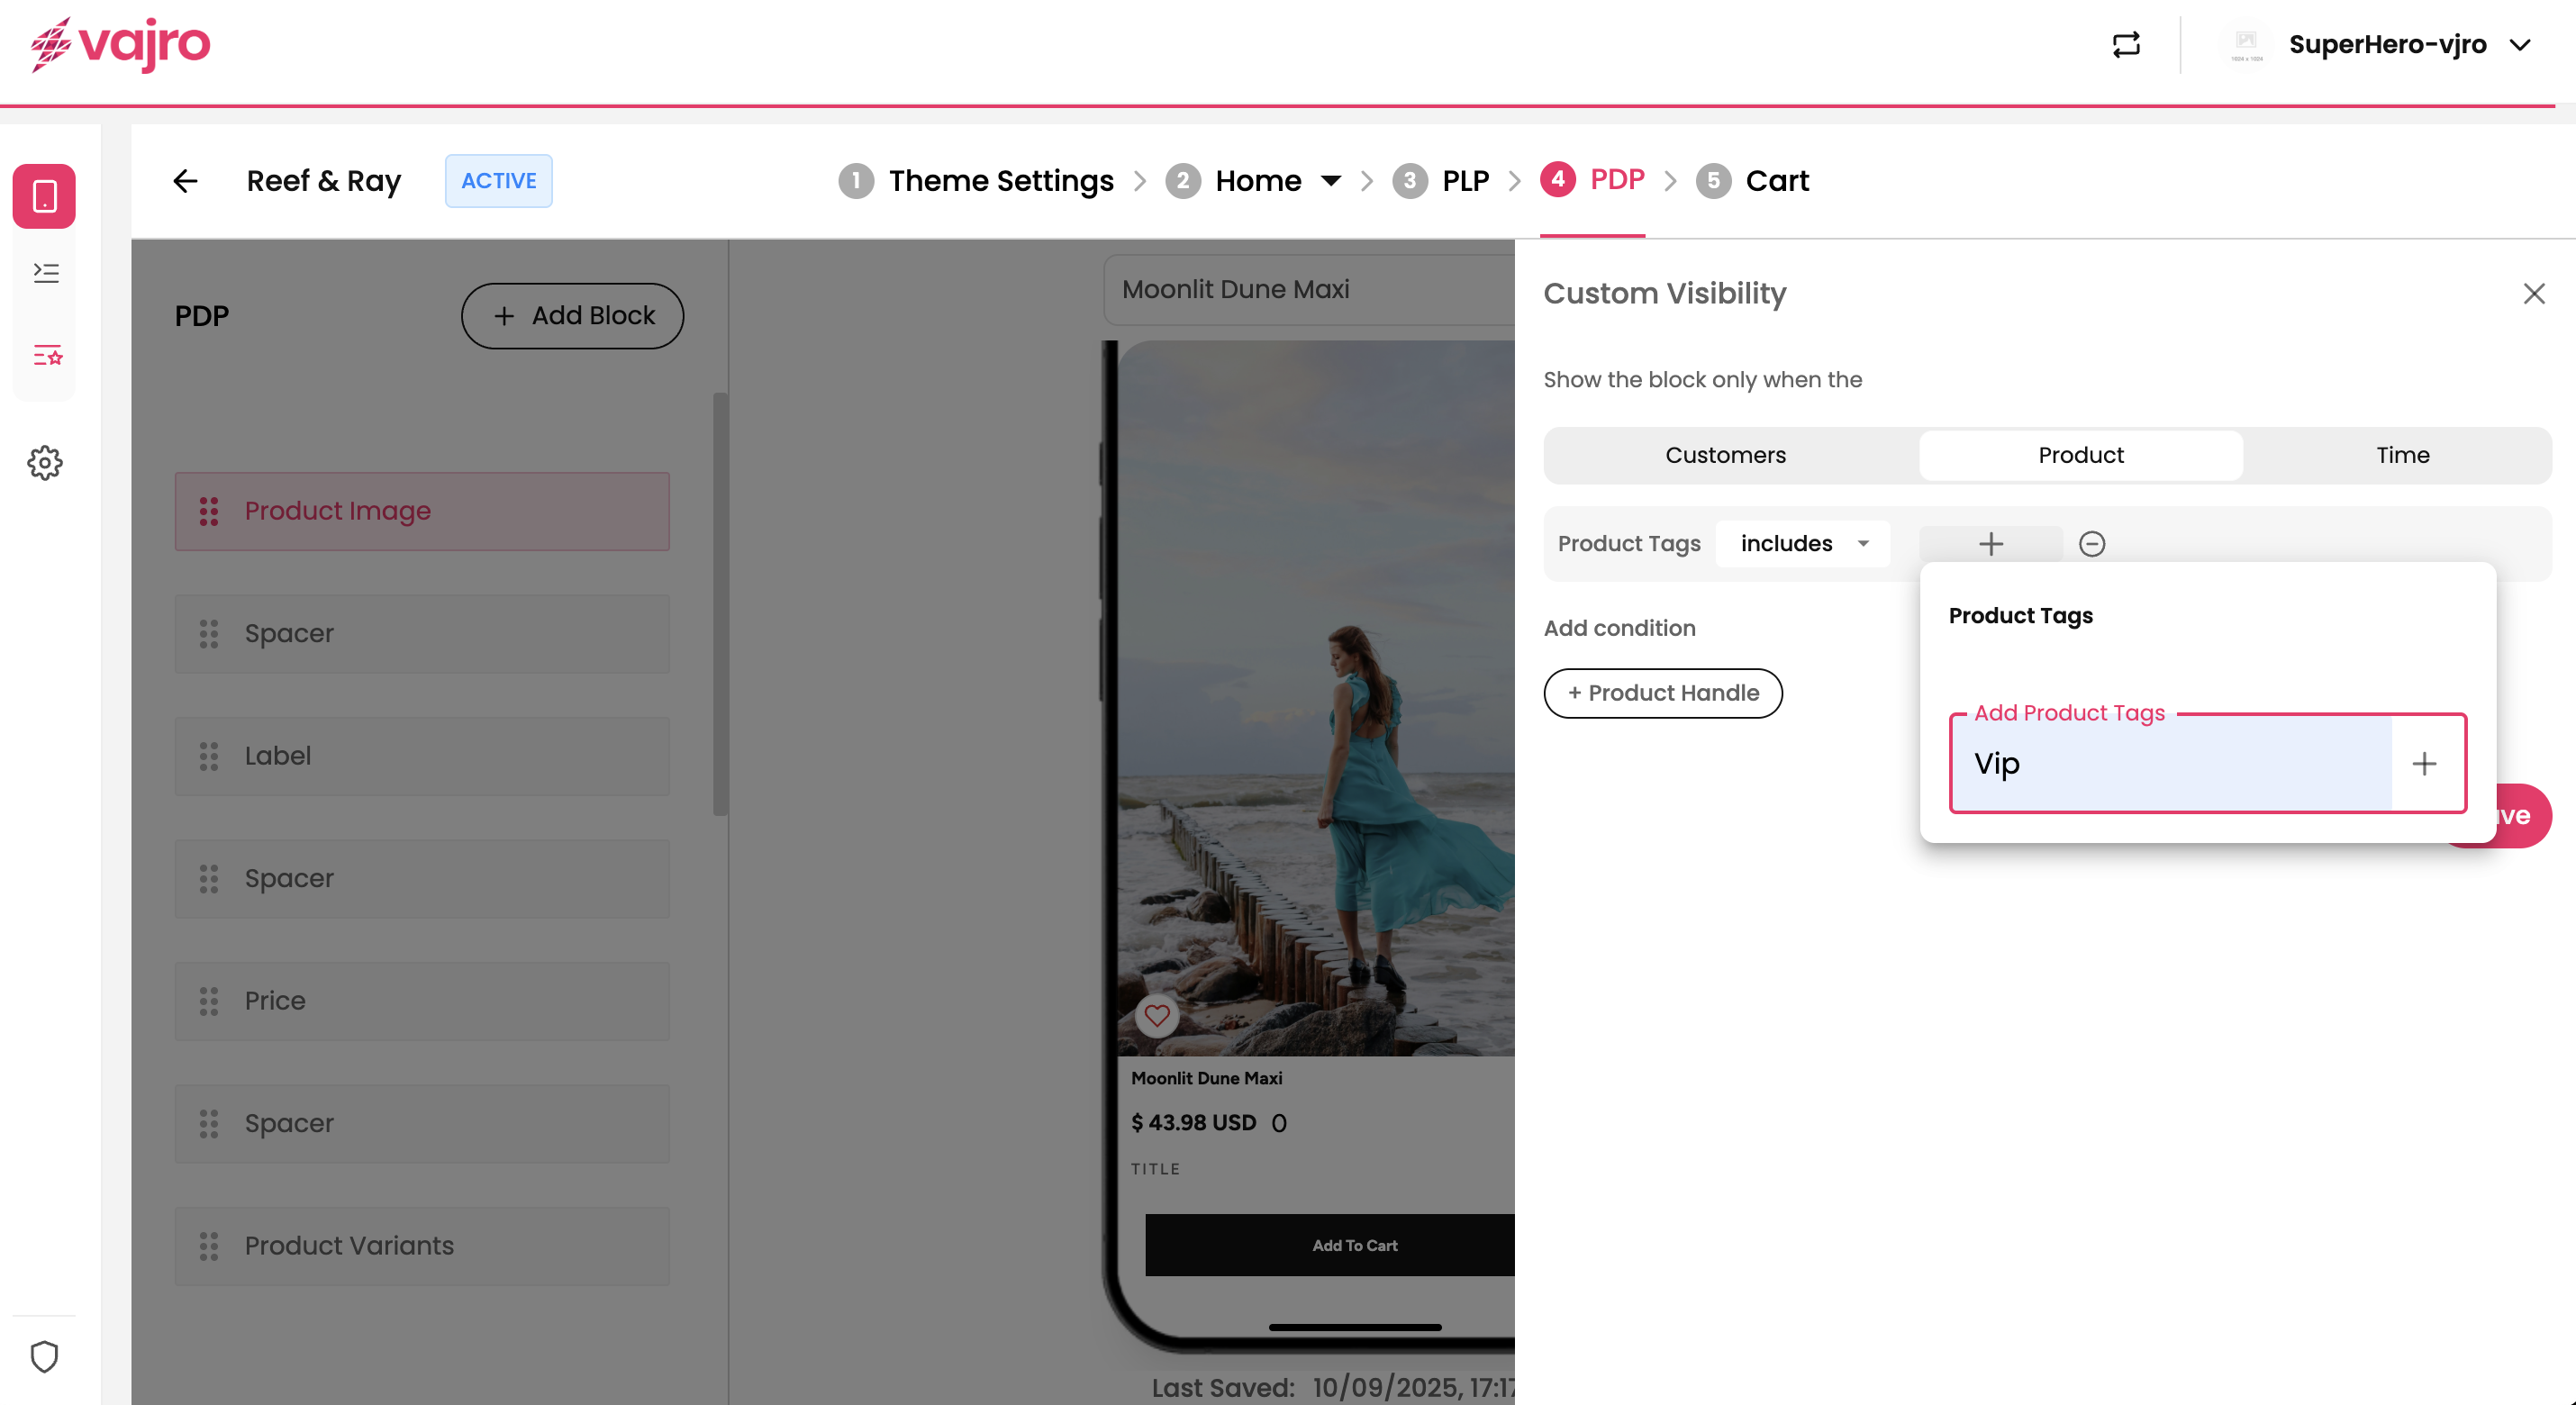
Product-based conditions apply to Product Detail Pages (PDPs), helping you display specific content depending on product tags or attributes.
What it does: Shows or hides blocks based on product tags set in Shopify.
How it works: Enter the relevant product tag.
Examples:
Show a Vegan-Friendly badge for products tagged “Vegan.”
Display a Size Chart widget only for products tagged “Apparel.”
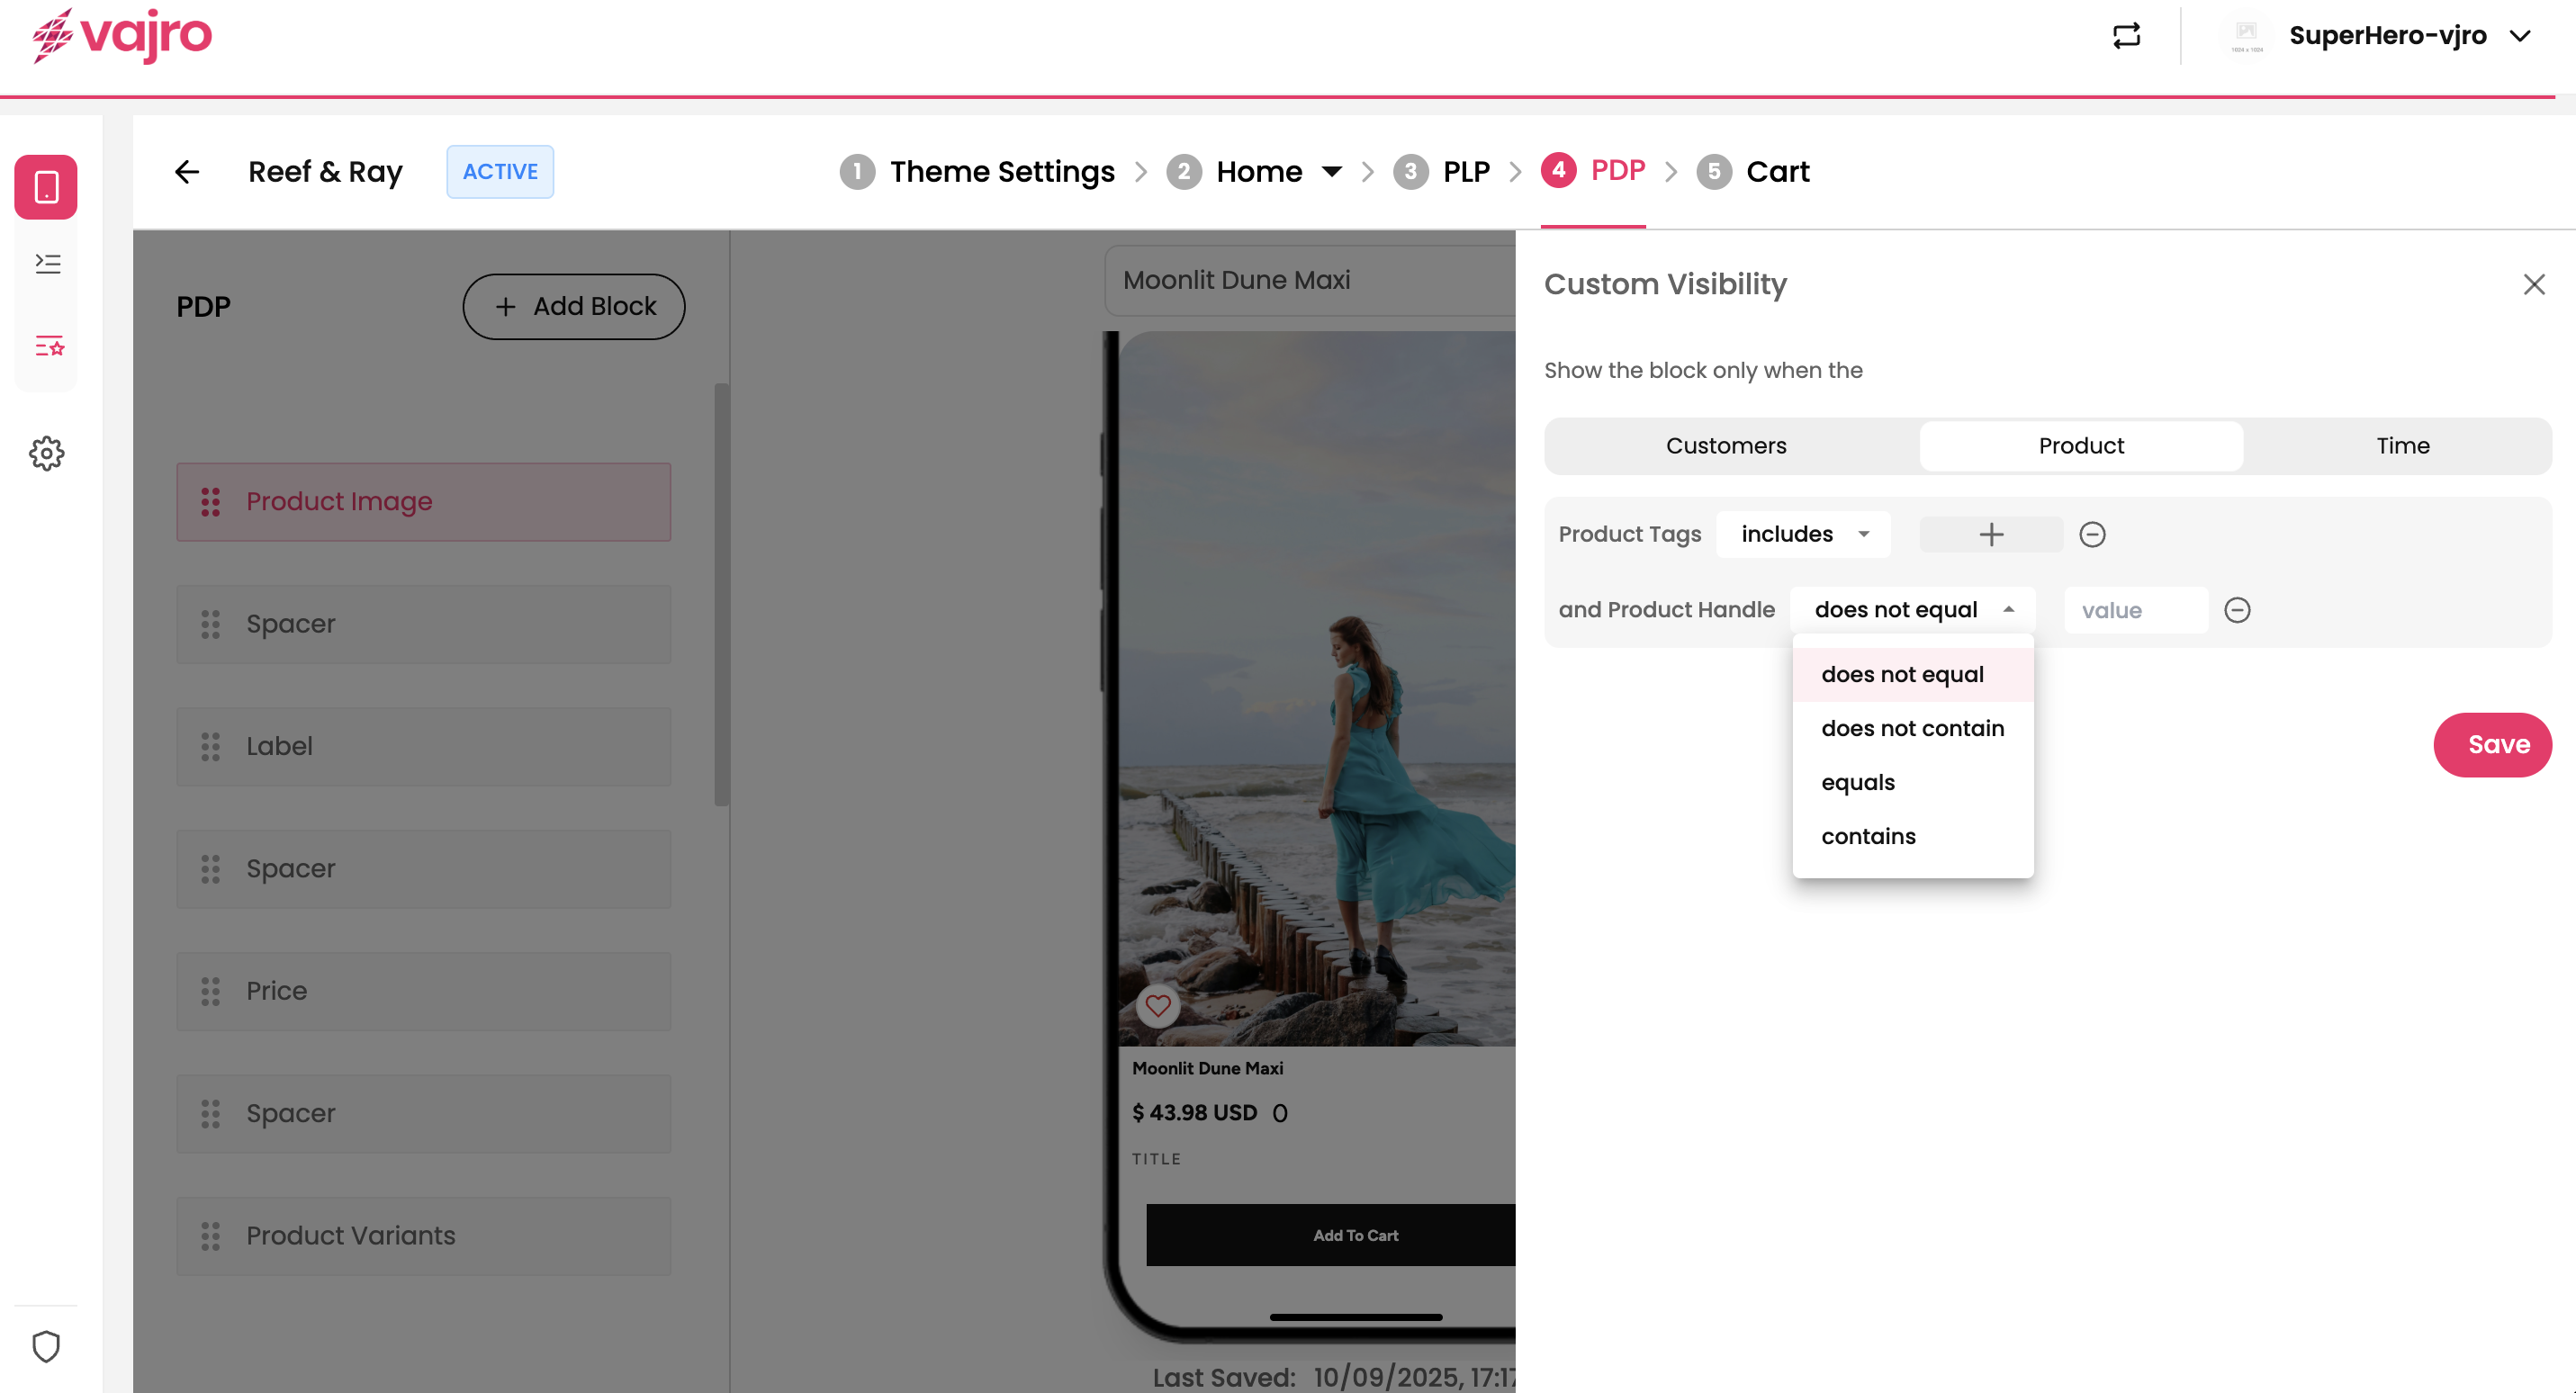
Product-based conditions also work with Product Handles, letting you display specific content on a Product Detail Page (PDP) depending on the product’s handle.
What it does: Shows or hides blocks based on the product handle in Shopify.
How it works: Enter the specific product handle (the unique part of the product URL).
Examples:
Show a Special Promotion banner only for the product with handle “Summer-dress-2025”.
Display a Limited Edition badge for the product handle “Premium watch”.
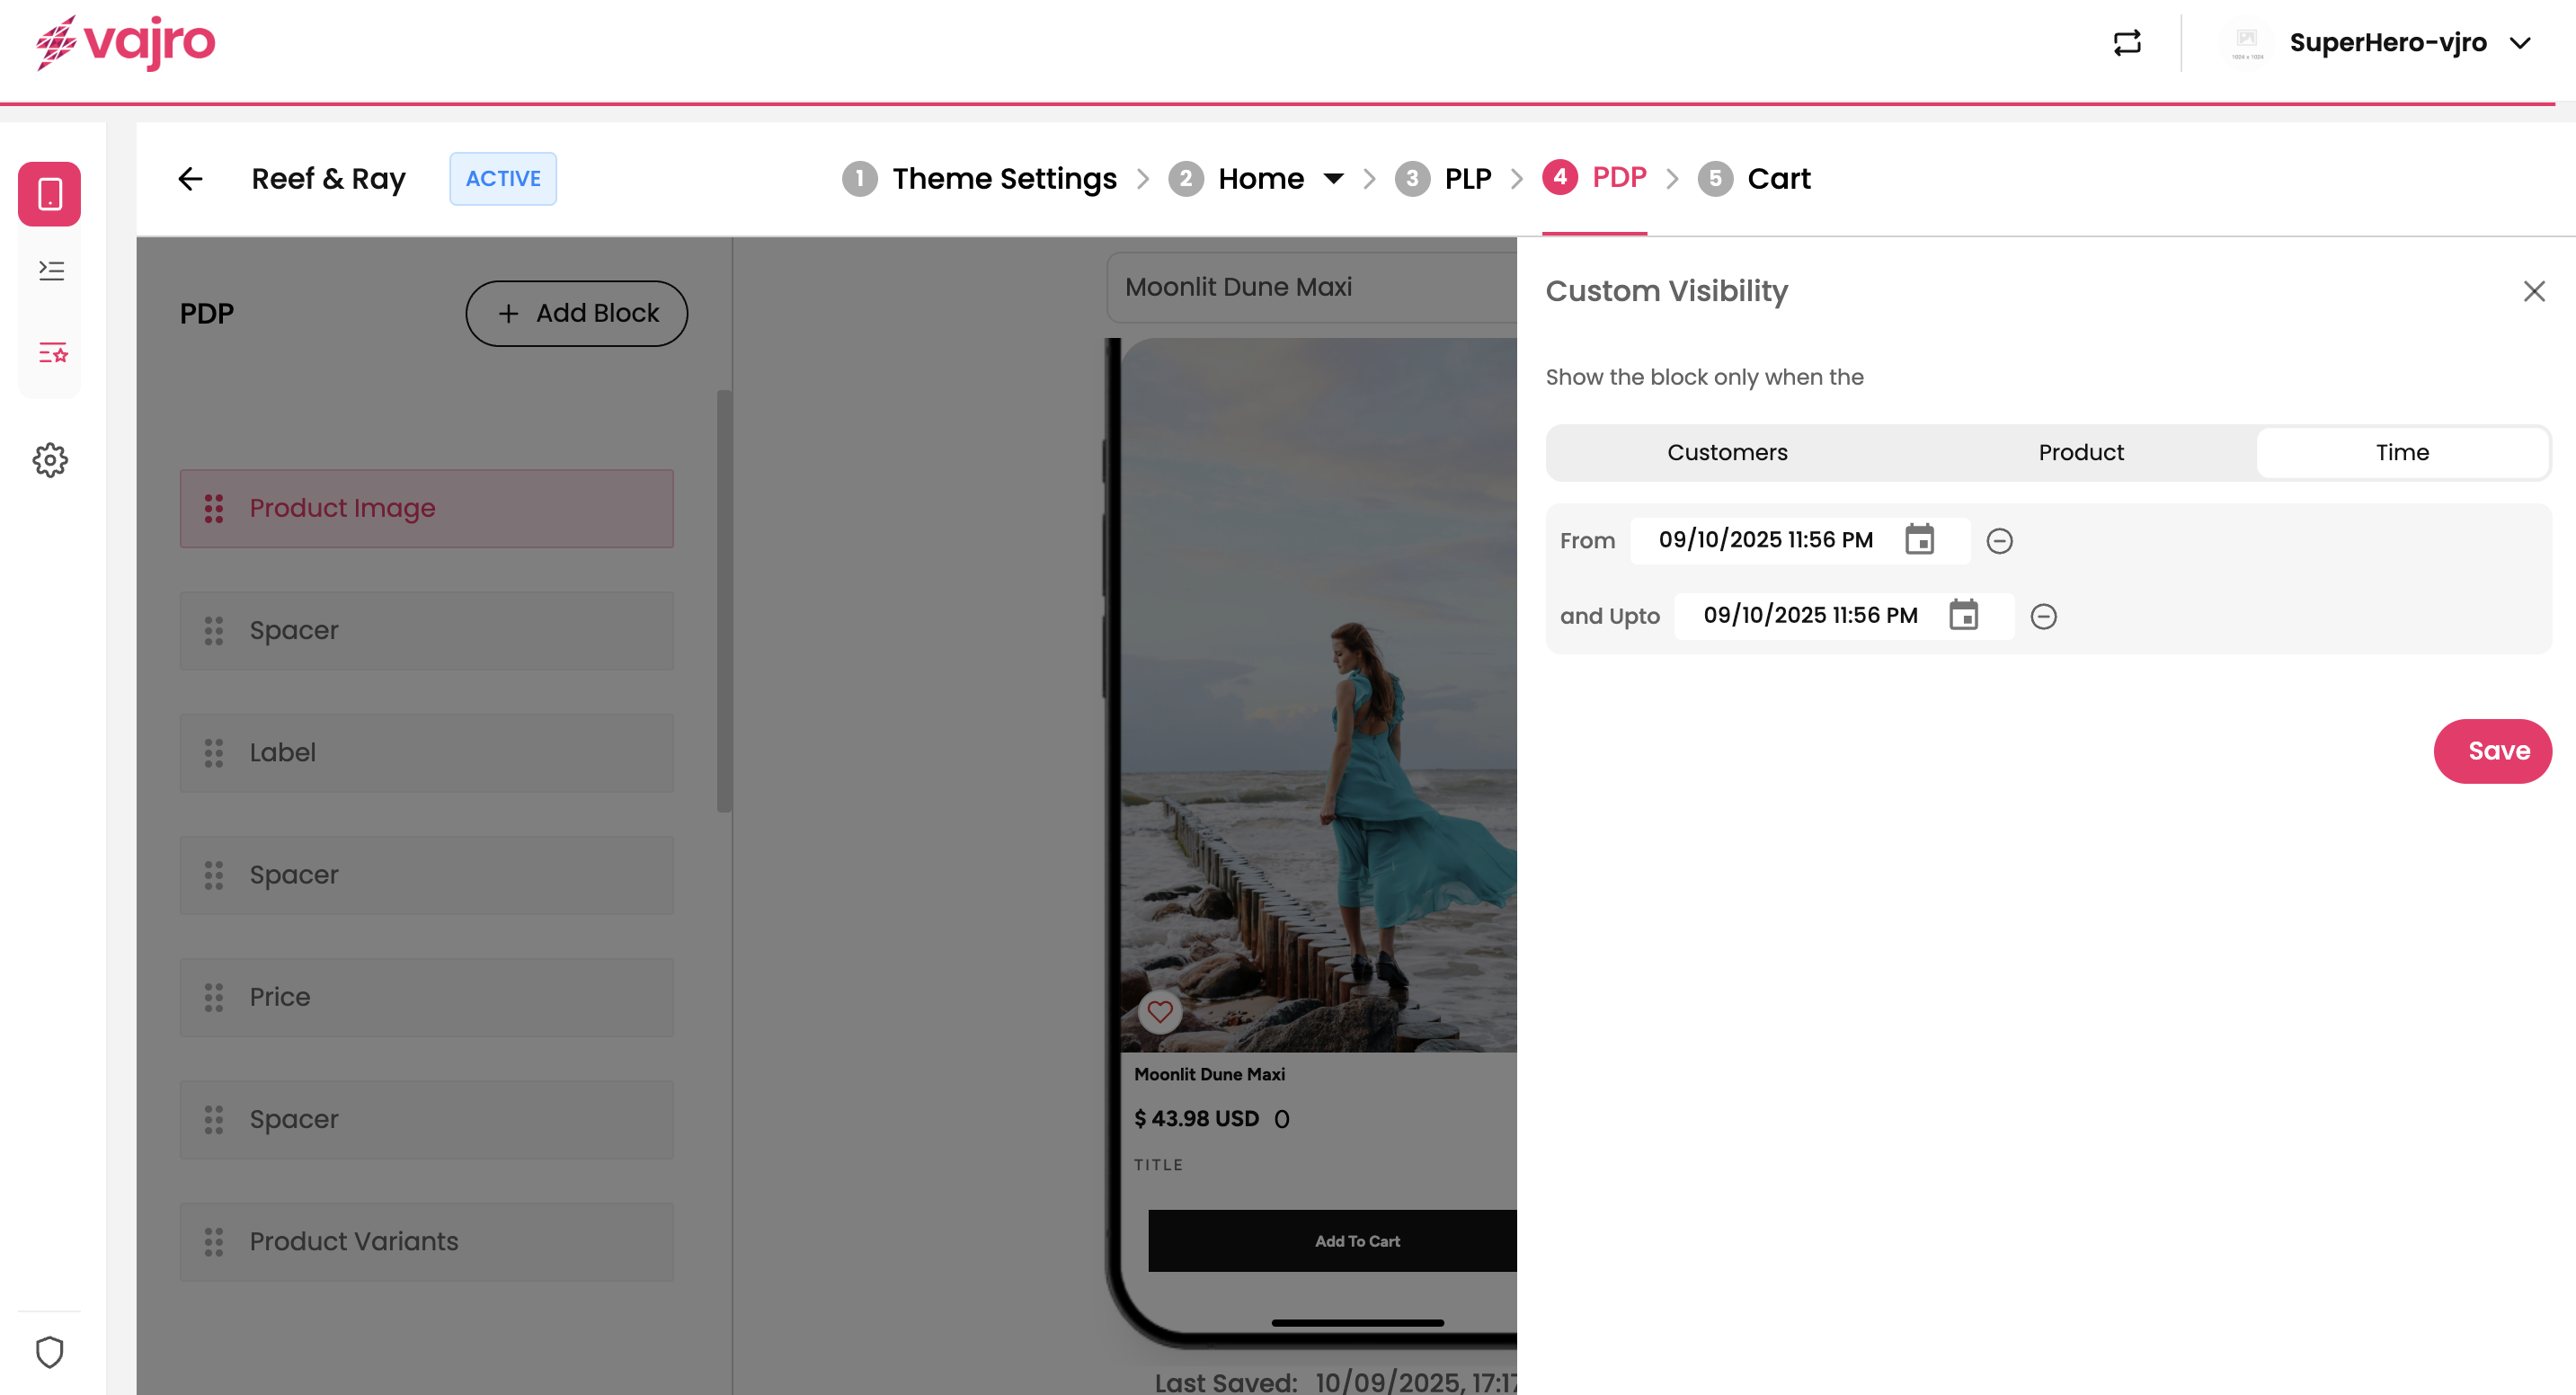
Time-based conditions allow you to schedule when content appears or disappears. This applies to Home Page, PLP, PDP, and Cart.
What it does: Controls visibility for a set time window.
How it works: Enter a From Date and a To Date in the panel.

Start with a Goal: Before setting a rule, decide what you want to achieve. Are you trying to increase your Average Order Value (AOV), reduce cart abandonment, or highlight a new collection? Your goal should guide your conditions.
Use Shopify Tags Consistently: Make sure your customer and product tags are clean and uniform in Shopify. This consistency is crucial for building reliable visibility rules in Vajro.
Combine Conditions for Deeper Targeting: Use a combination of filters to create highly specific offers. For example, use Country + Cart Value to offer free shipping only to customers in a specific region who meet a minimum cart total.
A/B Test Your Changes: For key promotions, create two versions of a content block with different visibility rules to see which performs better.
Keep It Simple: Don't overdo it. Too many conditional blocks can make your app's pages feel cluttered or inconsistent. Focus on a few high-impact, relevant rules.
1: Why isn't my conditional block showing up in the app? First, check that the conditions you set are a perfect match. For example, if you set a rule for a customer tag, ensure the customer you're testing with has that exact tag. Second, confirm that you clicked Save in the visibility panel and Published your app update.
2: Can I apply multiple conditions to one block? Yes. You can add several conditions to a single block. The rules work together as an "AND" statement, meaning the block will only be visible if all of the conditions are met.
3: Can I set different rules for the same block on different pages? Yes. Visibility rules are set for individual blocks within each page's editor, allowing you to have unique conditions for the same block type across different pages.
4: How do I remove a visibility rule? Simply go back to the block's visibility panel, click on the rule to remove it, and then click the Save button. The block will revert to being visible to all users.
Ready to use conditional filters? Follow these steps to get your first personalized block live in minutes.
Choose a Goal: Decide what you want to achieve with your content.
Select a Content Block: In your Vajro editor, navigate to the page (Home, PLP, PDP, or Cart) and select the content block you want to make conditional.
Set Your Rules: Click on the visibility icon for that block and add your desired conditions (e.g., Tags, Cart Value, Time)
Save and Publish: Click the Save button in the visibility panel, then remember to Publish your app to make the changes live for all your users.
Monitor Your Results: Check your Shopify analytics to see the impact of your new conditional content on user engagement and sales.