The Login Page / Account Page is the screen in your mobile app where customers can sign in to their existing accounts or create a new one. It helps your customers securely access their order history, saved addresses, and personalized shopping experience.
Similar to Login Page, there is address page on the app which pops up after registering an account. The user details such as address is collected through this page. The details to be collected can be configured from the dashboard.
This article helps you with the following details:
Configuring Login options on the mobile app
Setting up the content for Account Page
Configuring the options on Address Page
Configuring Login options on the mobile app
This setting helps you to configure the options the user can login on the app.
Steps to configure:
Step 1 : Navigate to App Settings → Login & Account Page
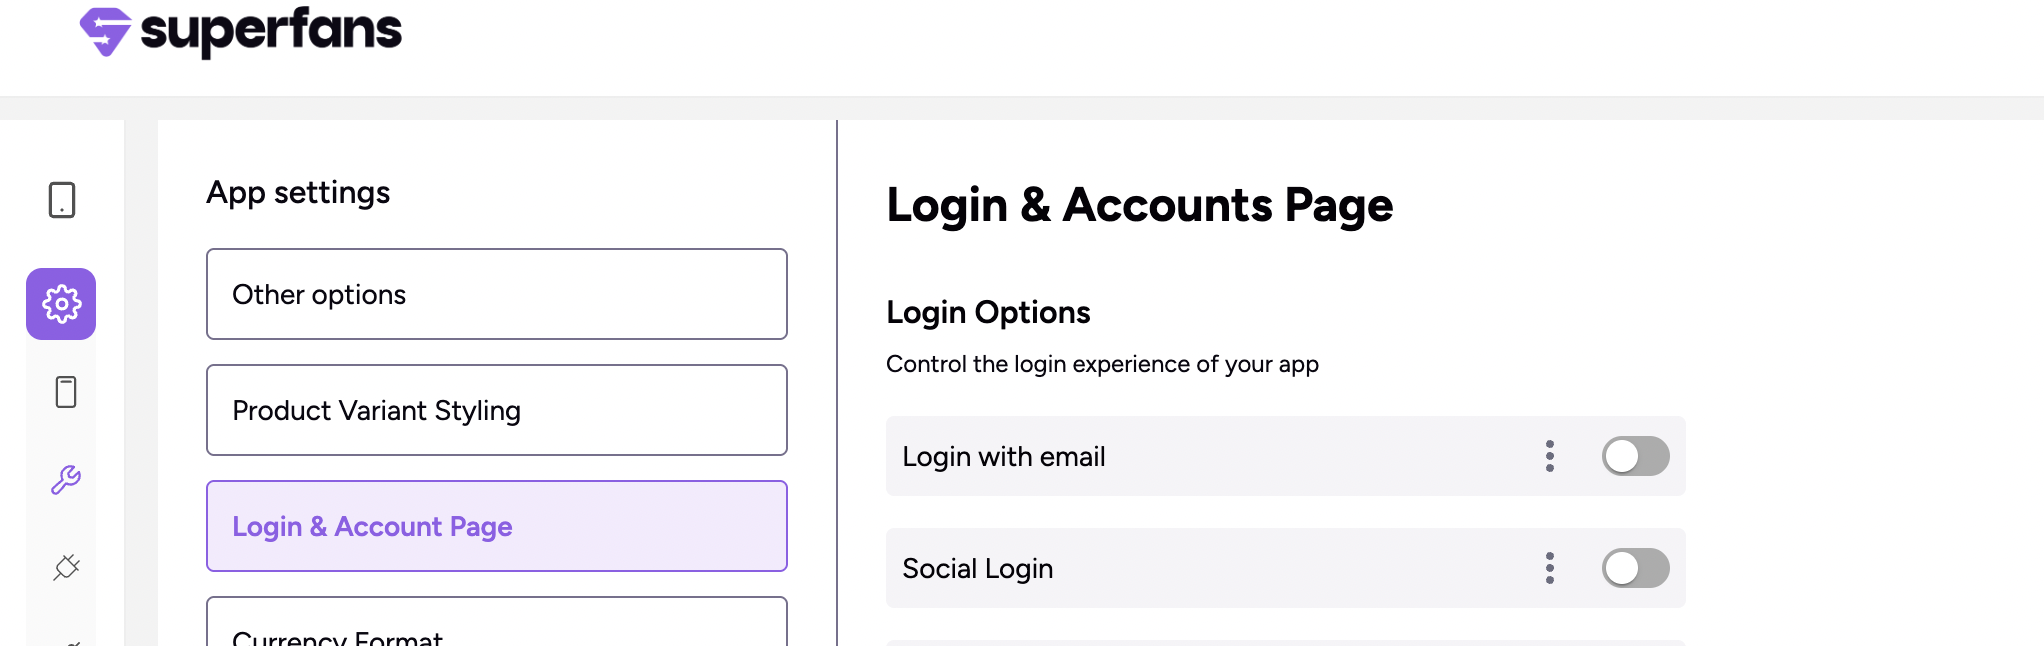
Step 2 : Toggle the options which is needed on the app.
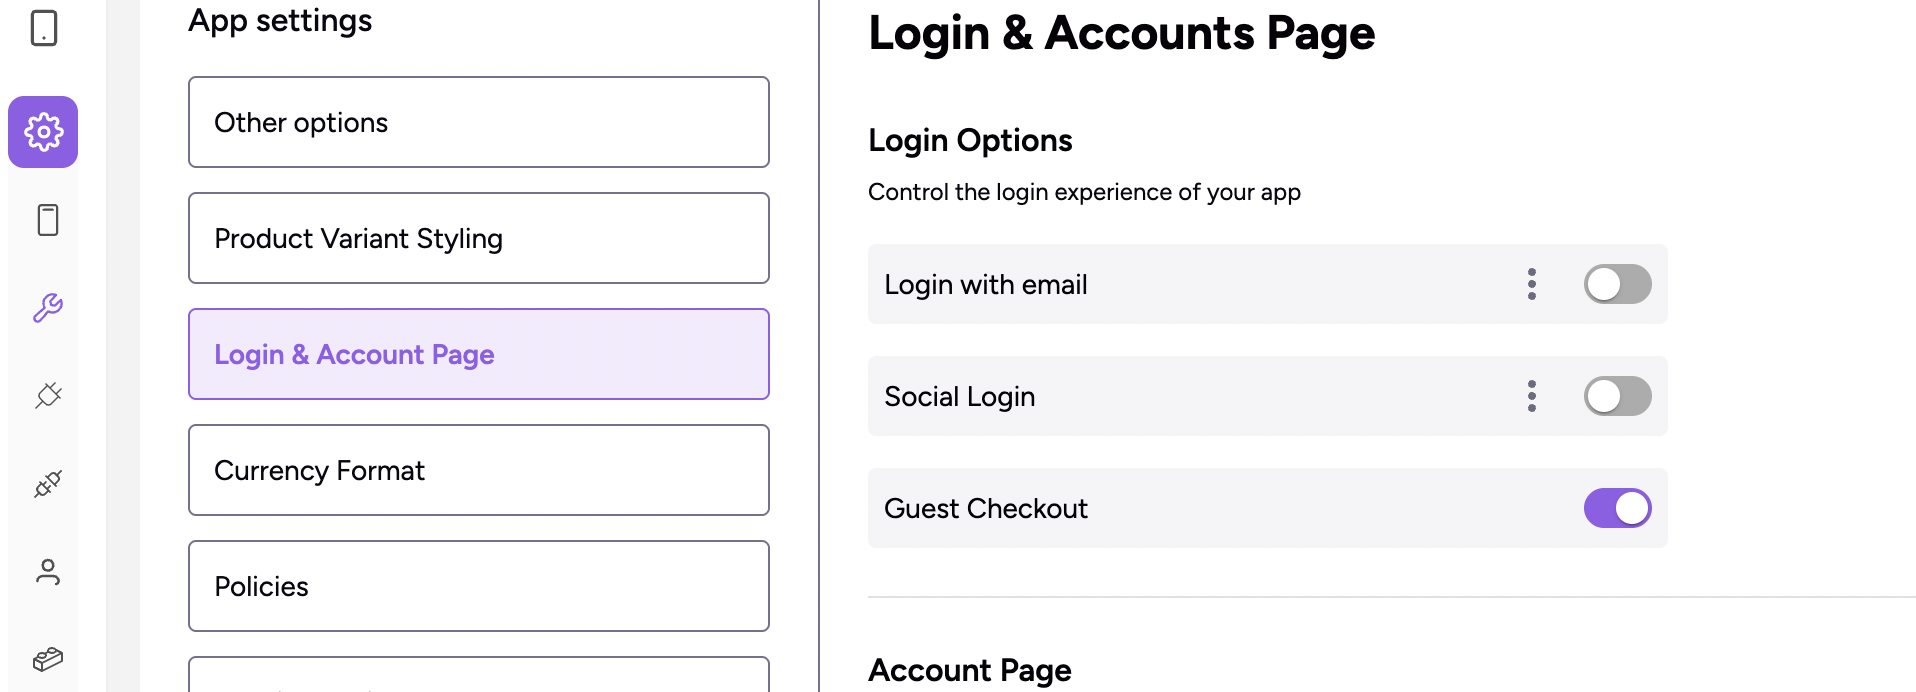
There are 2 options:
Login with Email – Standard login option.
Social Login – Allow customers to use Google, Facebook, or Apple ID.
You can toggle and enable “Guest Checkout” for ease of purchase where customer need not login to purchase.
Setting up Content for Account Page
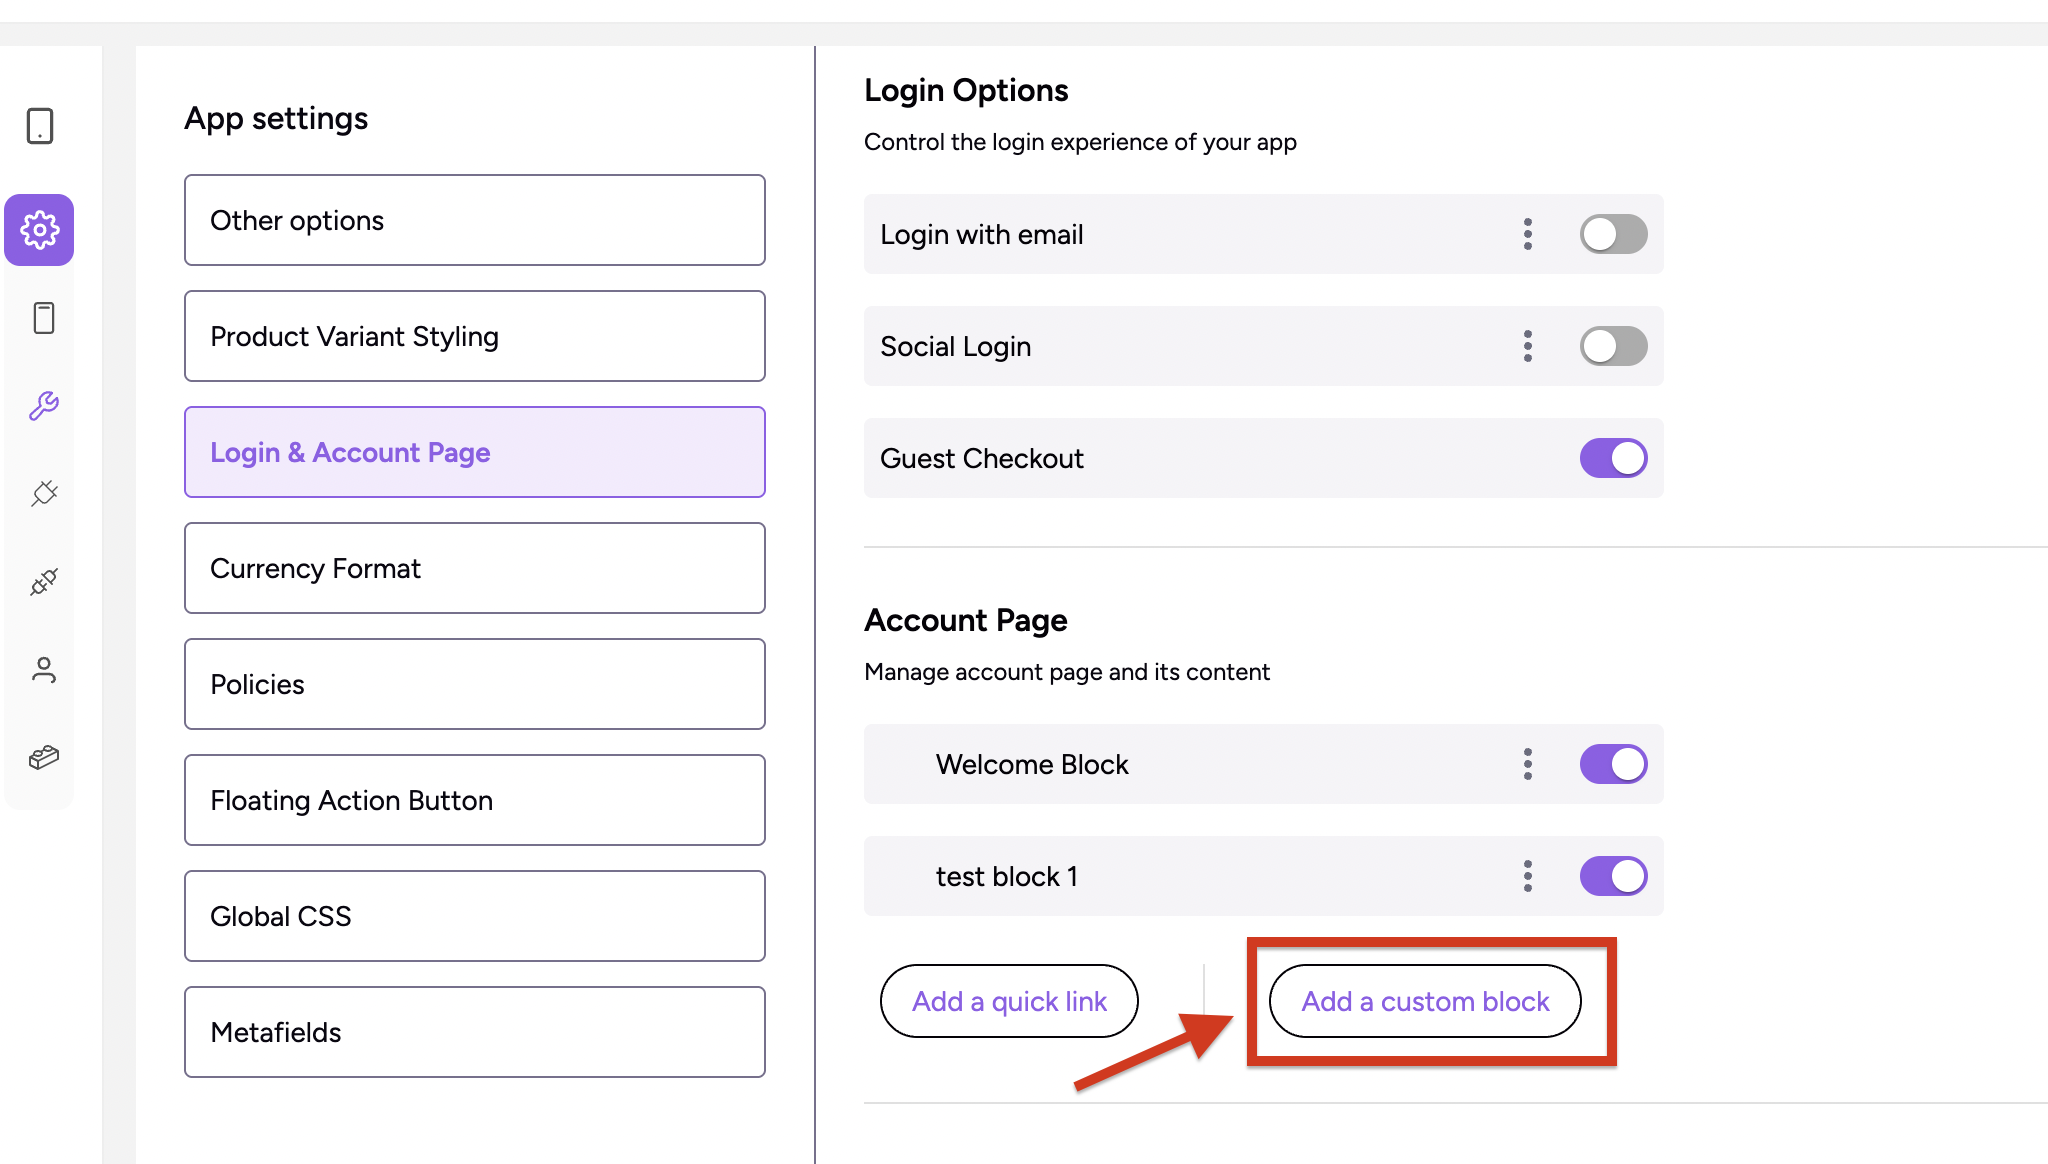
Step 1 : Navigate to Account Settings → Login & Account Page. Scroll to the Account Page section of the dashboard.
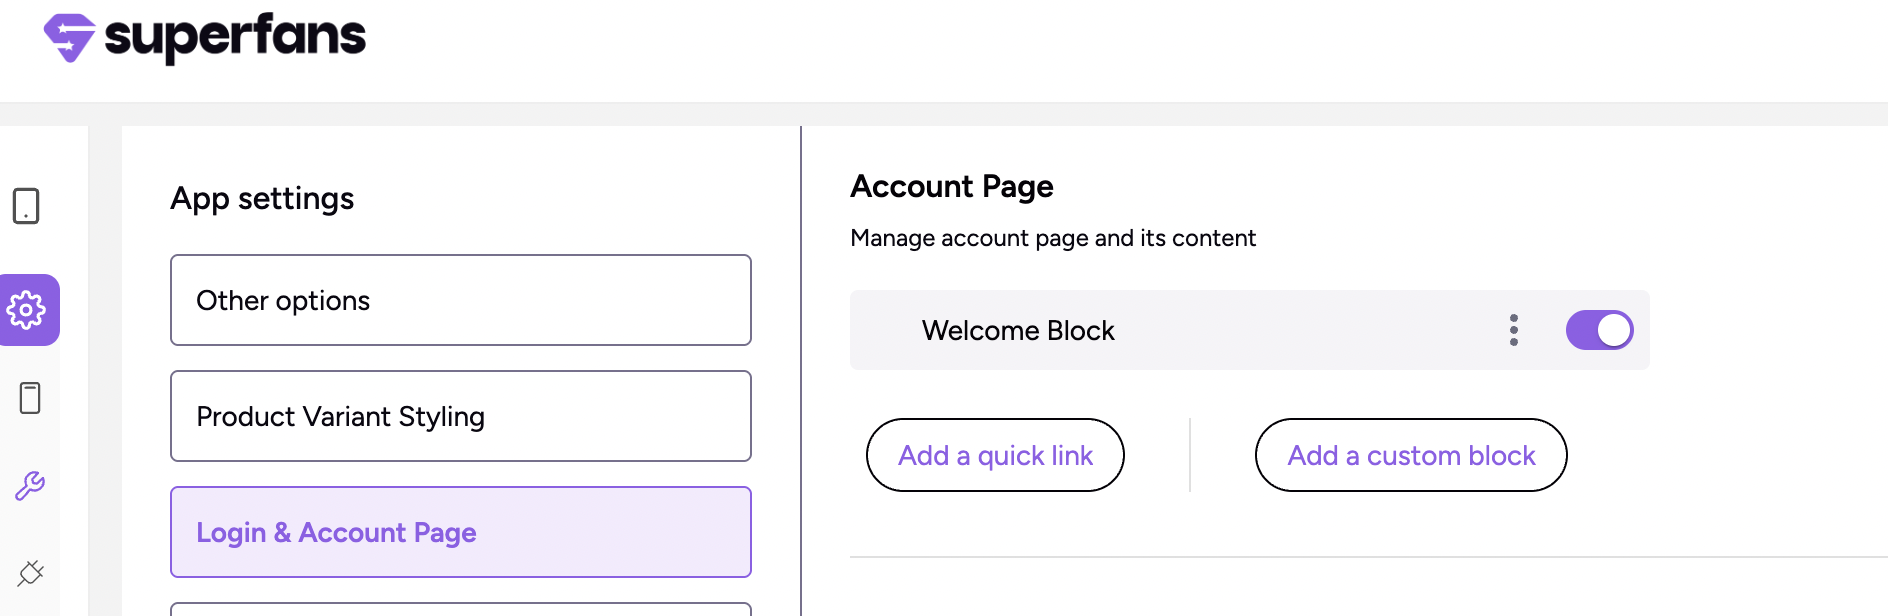
Step 2 : Enable / Disable the Welcome Block section (built-in block)by toggling the item. (This section appears on top of the side navigation)
Step 3 : To add any Custom Blocks to the page, click n “Add Custom Block” button.
Step 4 : Provide the text, choose the custom block and click on Save Changes.
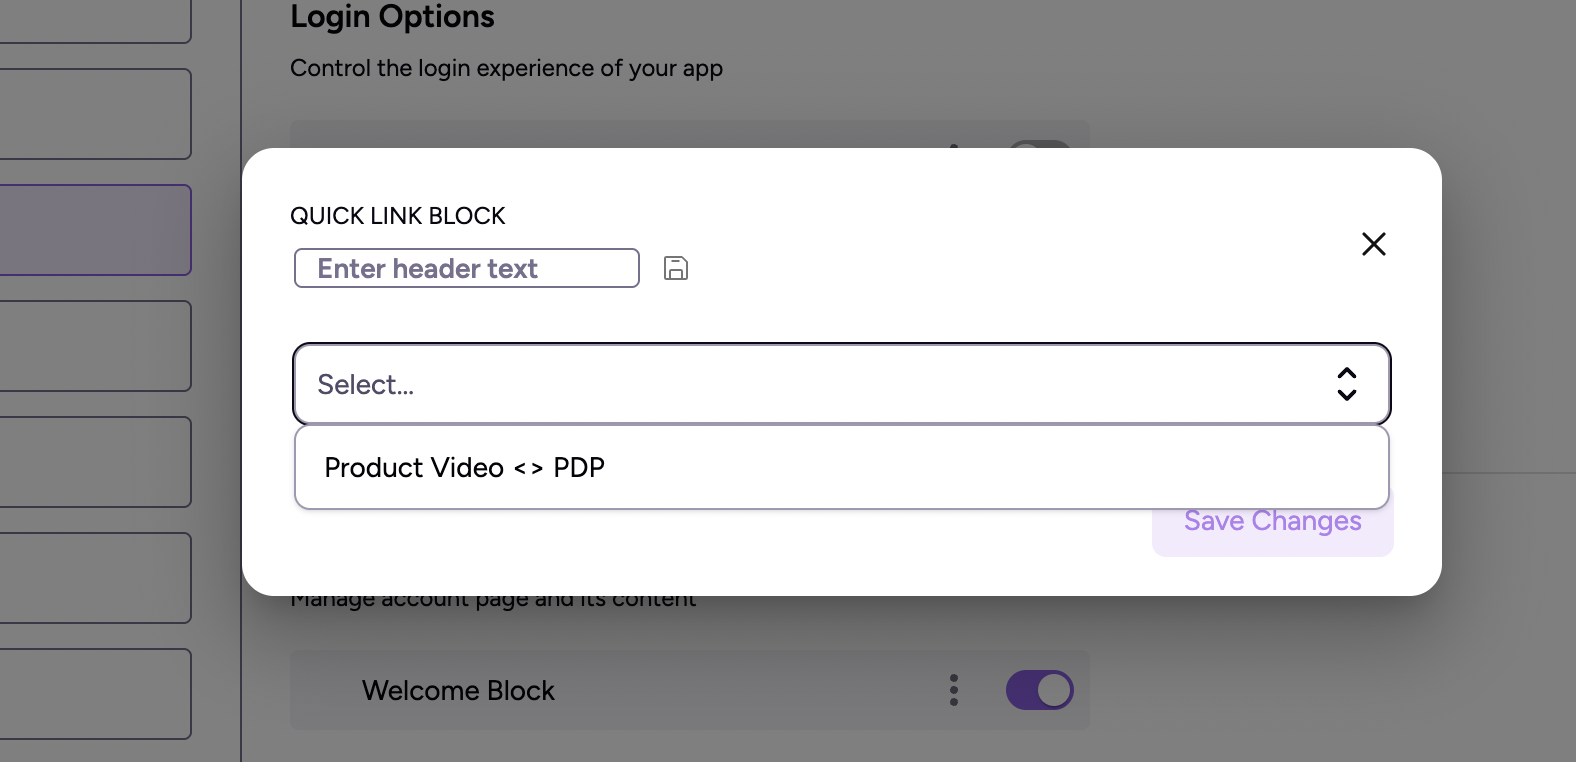
Step 5 : To add any other links on the Account Page, click on “Add a quick link” button.
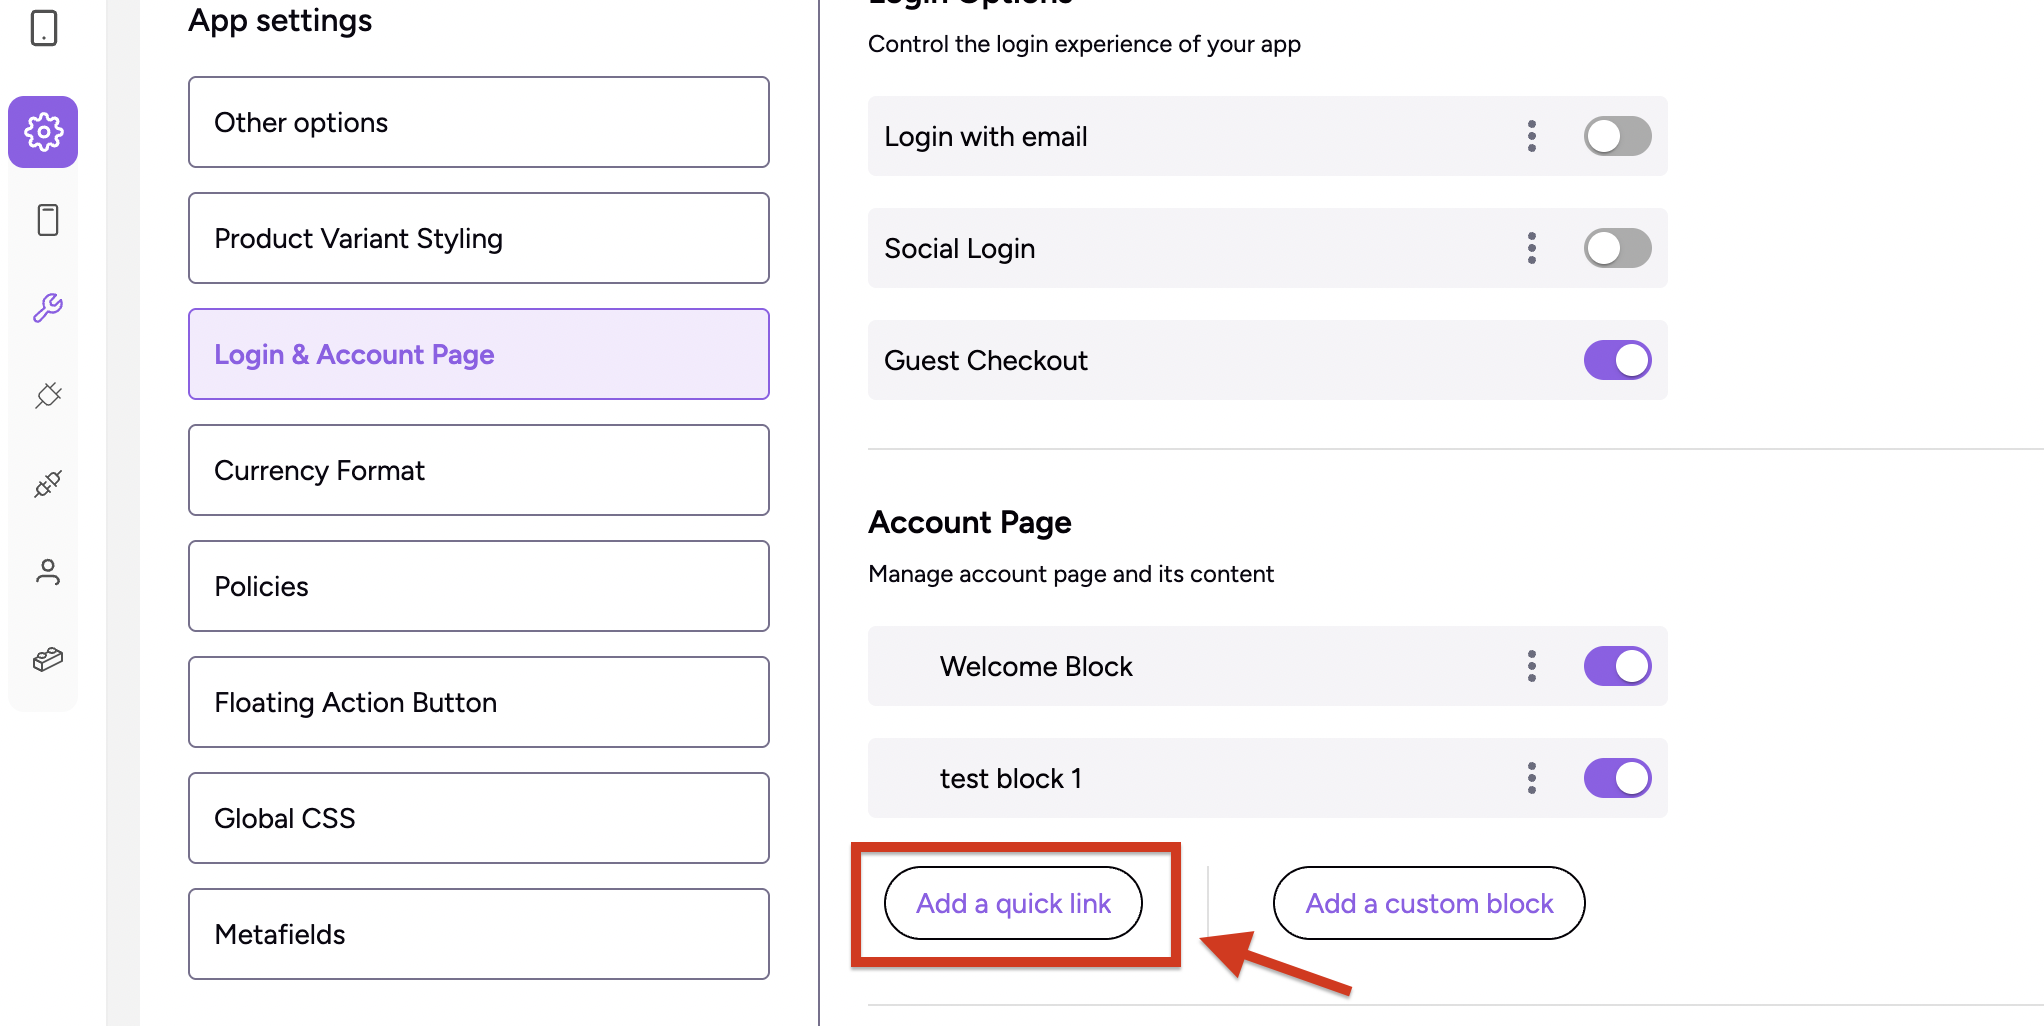
Step 6 : Provide the block name, provide the name for menu, choose the icon and set the action for the item and click on Save changes.
To reorder the menu items, click on the 6 dots, drag and drop to any desired position.
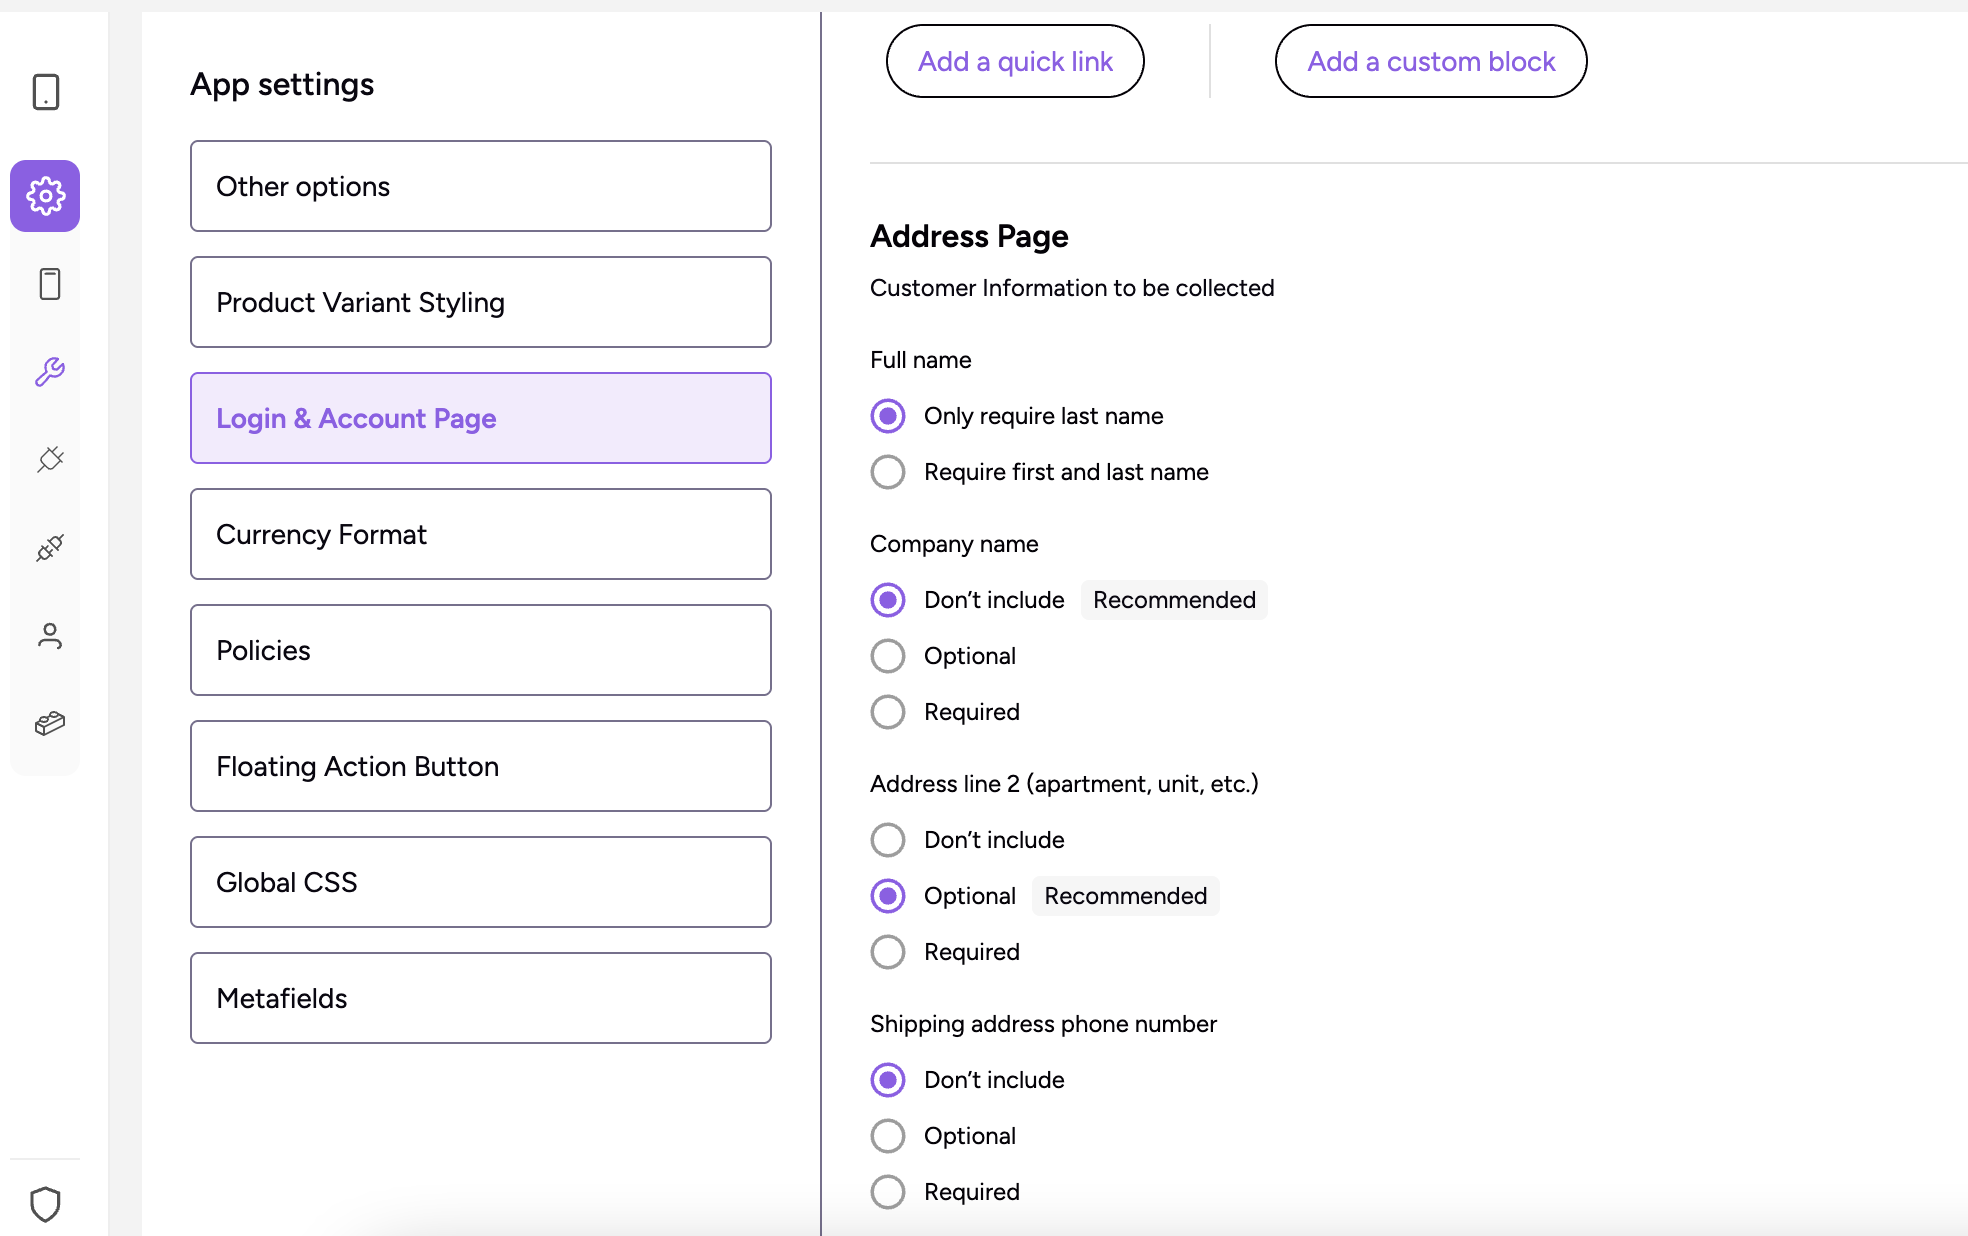
Configuring the options on the Address Page
This setting helps you to collect the expected details on the Account page.
Full Name - Full name of the user
Company Name - Name of the Company on the Address
Address Line 2 - The part of the address which includes unit, apartment etc.,
Shipping Address Phone Number - Phone Number of the address
For name you can choose from Only Required Last Name or Required both First & Last Name. For others, you can choose the options from Required, Optional and Don’t include.
Step 1 : Navigate to Account Settings → Login & Account Page. Scroll to the Address Page section of the dashboard.
Step 2 : Select the required options.